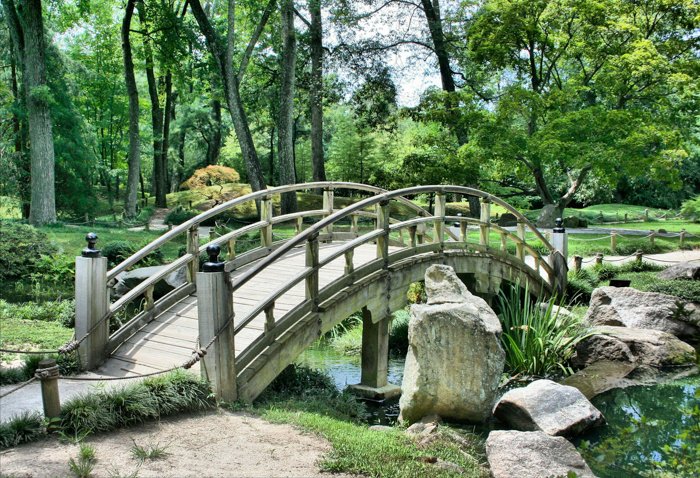
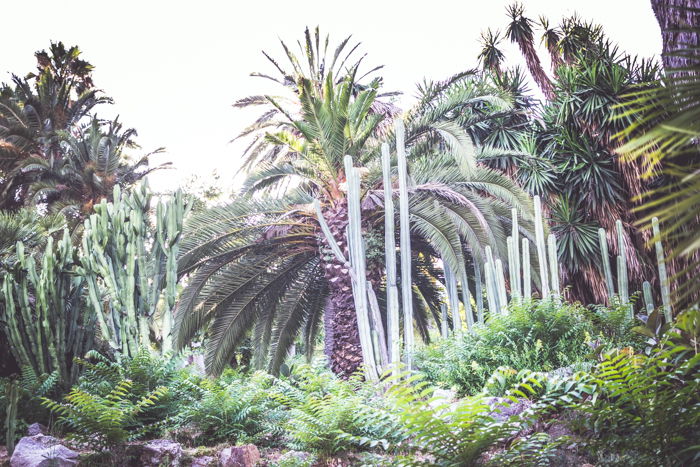
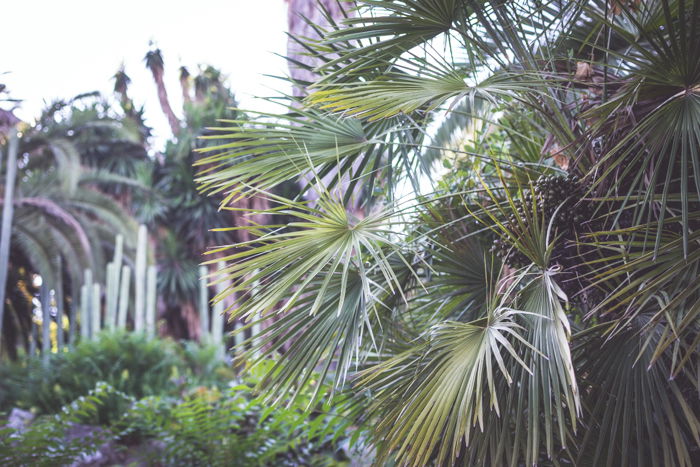
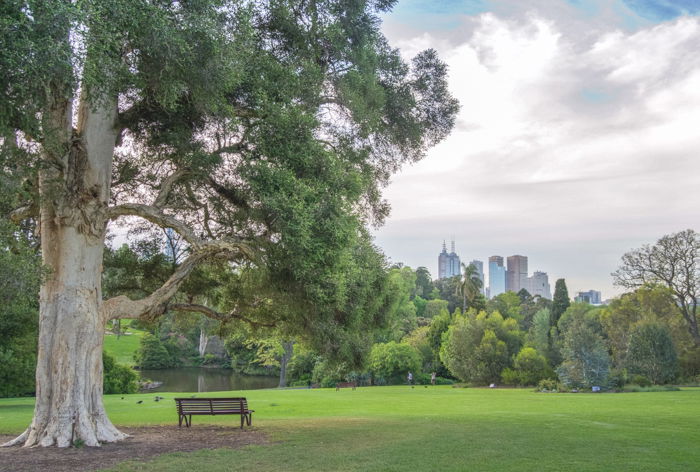
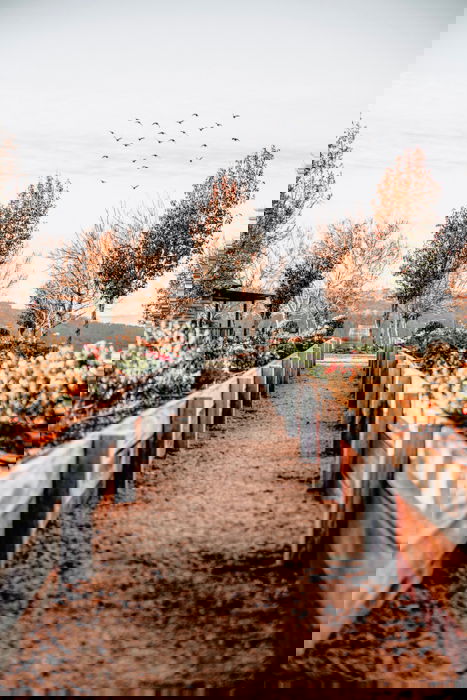
Don’t have a garden? You also have plenty of alternatives to practice your garden photography. Parks, public gardens, and botanical gardens are great places to photograph!
1. Garden Photography: Adding Interest to Your Garden Images With a Diversity of Subjects
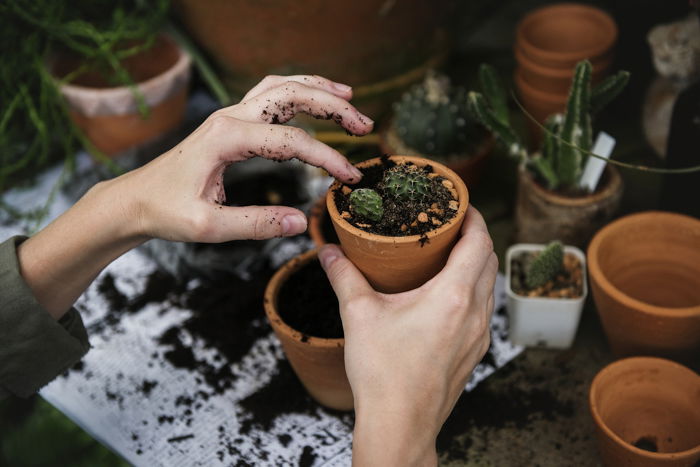
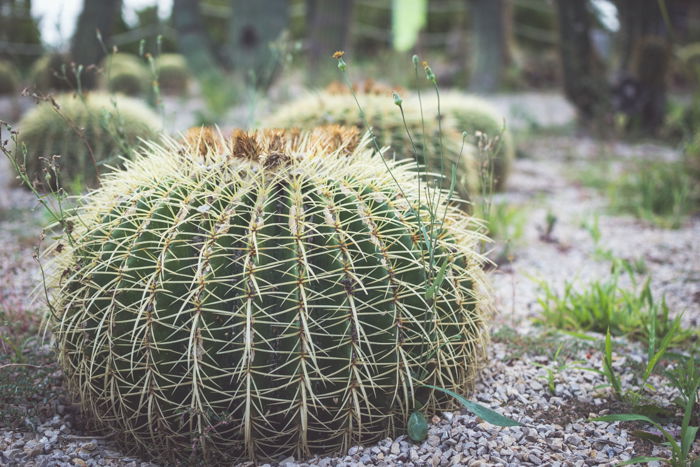
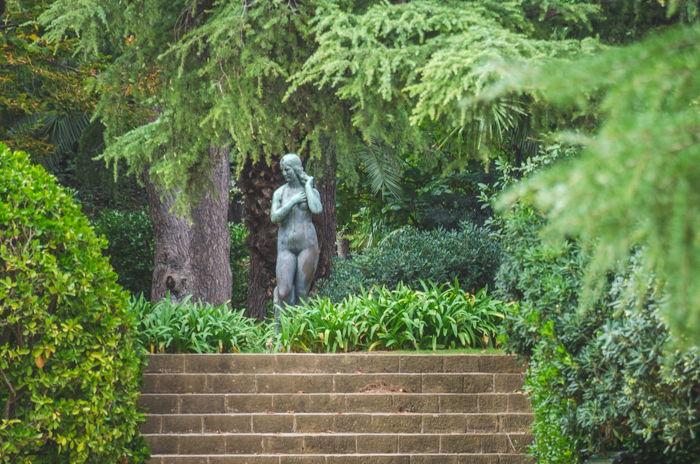
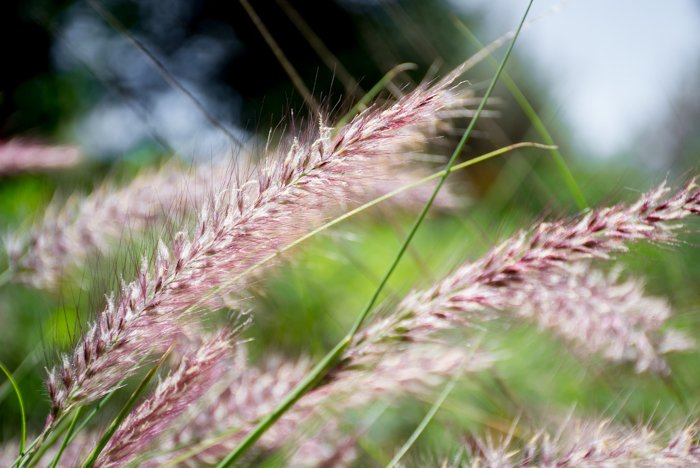
Flowers are outstanding subjects. You can easily spend your whole photography time in the garden focusing on them. There are other interesting subjects that are worth paying attention to. These will make your photo collection more diverse. Plants, leaves, fruits, pots, decorations, statues, ponds are just a few examples. You can even take photos of the gardening tools. A tip for tools is to try and keep it as minimalist as you can. A small number of tools arranged in an interesting way can give you beautiful results. Add a human factor and the mood to your images will be completely different. Include some hands working in the garden or holding fruit or other objects. You can also add diversity by taking photos that go from big to small. Take wide-angle photos to show the overall view of the garden, medium shots to emphasize certain areas and close-ups or macro photography for beautiful details.
2. Shoot Early in the Morning and at Sunset for the Best Light Conditions
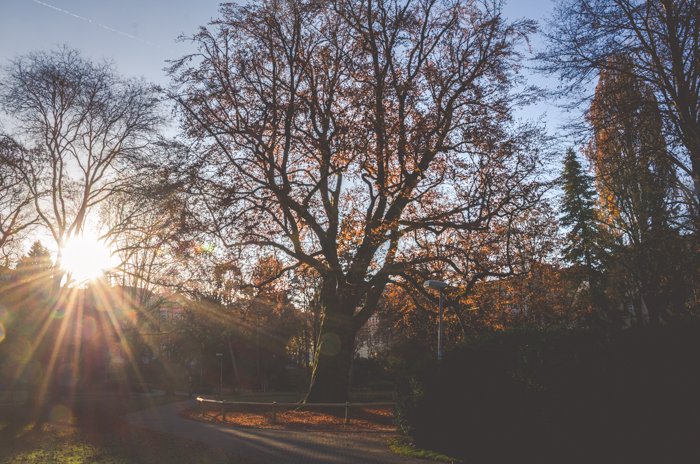
Direct sunlight creates hard shadows that usually don’t work for garden photography. To avoid them, shoot mostly in the early morning hours or towards sunset when the sun is lower in the horizon. Gardens can look quite different in the early morning and at sunset. Check both light conditions to decide which one you prefer.
Having the sun close to the horizon has another advantage: you can use backlight. First thing you need to do is place your subject between you and the sun. If you set your camera exposure according to the background, you will create silhouettes. If you expose according to your subject you will probably burn the highlights, but at the same time, you can get a stunning photograph. Keep in mind that backlight doesn’t have to come straight to your lens. Move around and try different perspectives and light inclinations until you find the best one for you. Overcast days are also great for nature photography. Clouds diffuse light so you don’t have hard shadows. All your subjects will be easy to photograph.
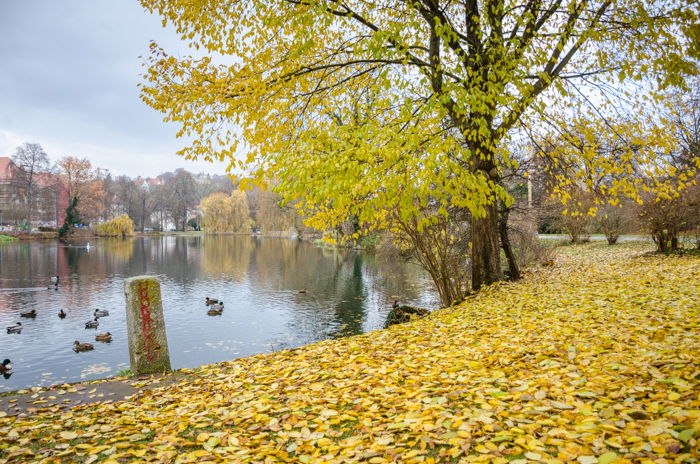
3. Take Garden Photos All Year Round to Showcase Each Season
Each season is beautiful so you should practice your garden photography all year long, not just in spring! Adjust the subjects to the season. For example, in my region, I can take photos of sprouts and flower blossoms in spring, fruits in summer, colorful leaves in autumn, and rain and snow in winter.
Seasonal subjects might be different in your geographical area and they also depend on the type of garden you are photographing. Just enjoy observing if there are any changes throughout the year and record them with your camera. Seasons also affect light conditions. You might need to adjust your shooting schedule depending on the season. In the spring and summer, days are longer but during a lot of hours, you have hard light that you might rather avoid. You are left with early morning and evening/sunset. In the autumn and winter, light is much more limited. But since there are usually more overcast days, the diffused light will allow you to work in the midday hours too.
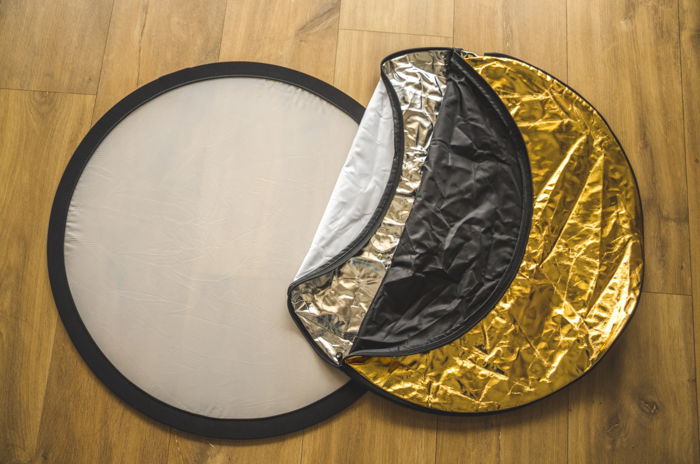
4. Use a Reflector to Avoid Lens Flares and Hard Shadows
A reflector is an affordable piece of equipment that will help you a lot in your garden photography. First of all, you can use it to create shadows for your subjects. If you see that there are hard shadows, just place the reflector between the light source and your subject to block the direct light, as if it was a parasol. You can ask somebody to hold it for you. If you are alone holding the reflector while you shoot might be difficult. A solution is that you place your camera on a tripod and setting the camera shutter timer release. During the countdown, take the reflector and hold it in place to shade your subject.
Reflectors are also useful for reducing lens flare when shooting in backlight. Flare is produced when light hits the front element of your lens. Although a bit of flare might be beautiful, it can also ruin your photo. You can use the reflector to stop light from hitting the lens directly. Place it on top of your camera while shooting. Moving it around until you find the position where it blocks the light that creates the flare. Big reflectors might be difficult to control, especially if you do not have an assistant or a friend that can help you. Find the reflector size that you can hold comfortably, or as in the previous case, use your tripod and the shutter timer release, and hold the reflector more comfortably.
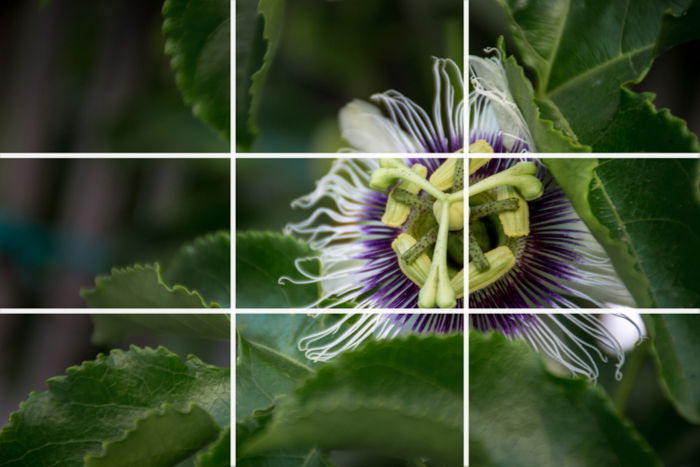
5. Follow composition rules and take great photos of your garden
Some of the composition guidelines that will improve your garden photography are easy to apply. You can start with the classic Rule of Thirds. This rule says that for a balanced and interesting composition, you need to place the interesting points of your image in either the intersections or a whole line of a 3×3 grid.
Following leading lines is also a great composition technique for garden photography. It consists of placing the lines in the frame in a way that they guide the viewer’s eyes to the point of interest. You can use all sorts of elements to create the lines such as the garden paths, fences or even stone lines. Look around the garden and search for elements that can be used to frame others: bridges, openings in a fence, trees. You can even use holes in between plants as frames! Experiment with your depth of field. Take one image with both the frame and the subject sharp and another with your subject sharp and the rest blurry. This can create a beautiful effect. To do so, use a wide aperture.
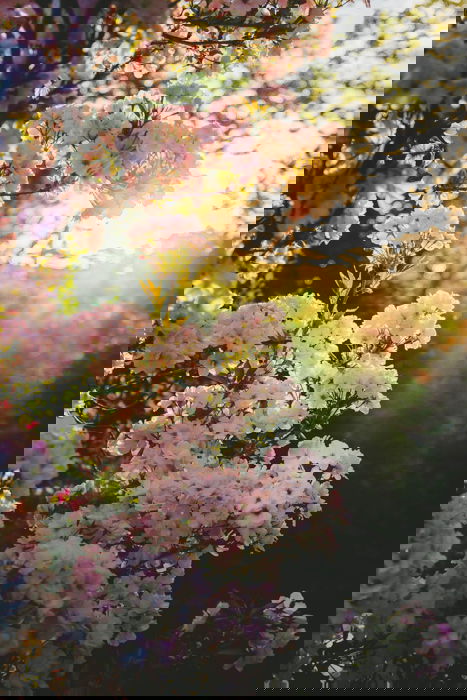
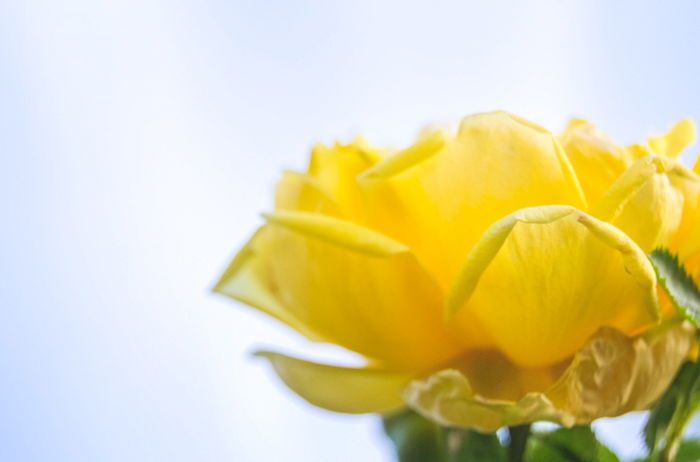
6. Use a Clean Background to Make Flowers Stand Out
Keep the background clean of any distracting elements. Usually, with flower photography minimalism is a good thing. Most of the times you can get a clean background just by changing your position according to the flowers to try new perspectives. If needed, you can also rearrange the flower and/or literally clean the background.
You can also set the camera on a wide aperture to reduce the depth of field. The effect you want to obtain is to keep your subject sharp while its surroundings look blurry. Set in your camera a wide aperture (f4 or smaller) and focus on your subject. The blurry effect will be more evident if there is a distance between your subject and the background.
7. Edit Your Garden Pictures to Add Some Extra Interest
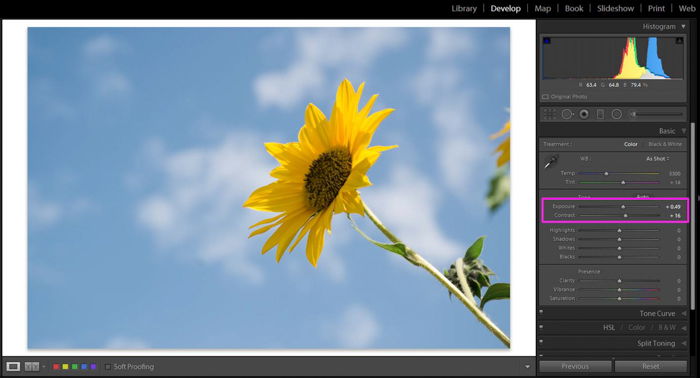
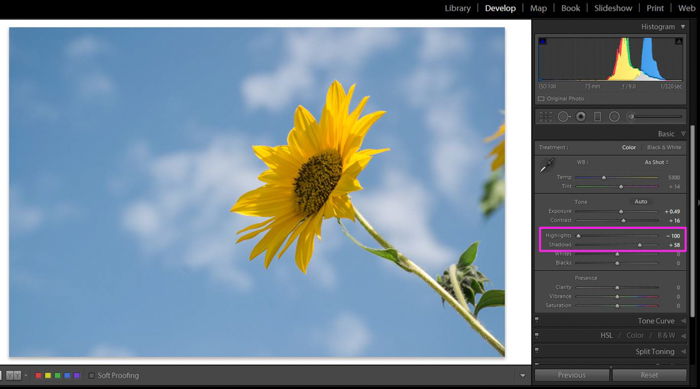
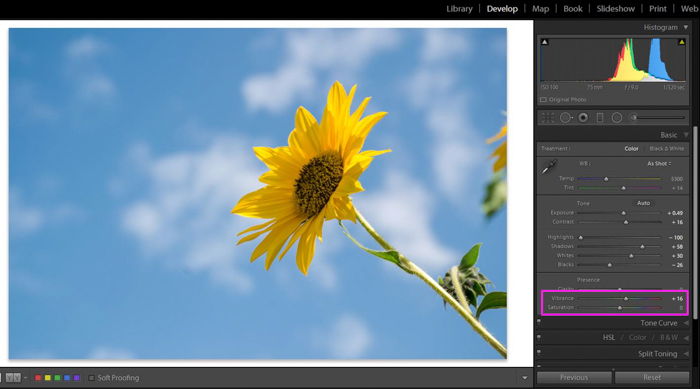
If you are planning to edit your images, set your camera to shoot in RAW. This format will take more space on your SD cards. But the amount of pixel information they store will allow you to have much more flexibility in the editing than when you shoot in JPG. Here’s my usual Lightroom workflow for garden photos. I always start by adjusting general settings using the slider bars in the Basic panel. Adjustments vary for each image, but generally, I start by adjusting the exposure. I always increase the contrast a bit because RAW files tend to be slightly washed out. Then I evaluate whether I want to recover some details in highlights and shadows. If so, I do it by moving the Highlights slider towards the left and/or the Shadow slider towards the right. Finally, I move the black and white sliders slightly to make blacks a bit blacker and whites a bit whiter. For garden photos, I like increasing the vibrance a bit to enhance colors. You can try the saturation slider too. Be careful with color adjustments. If you increase the color intensity too much, the image might look unnatural.
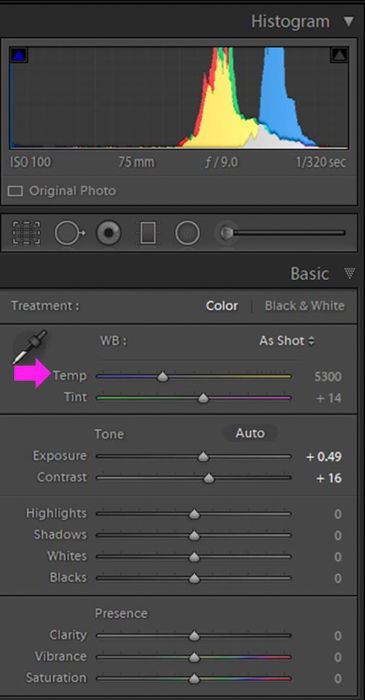
After these general adjustments you can stop and think what would you like to convey in your image. If you want to enhance the golden colors of the sunset, you can try to move the Temperature slider around to emphasize the warm colors. This part will call for some trial and error, so have fun with it!
8. Take Great Detailed Pictures Even If You Don’t Have a Macro Lens
When it comes to close-ups, using a macro lens is a great option. But macro lenses are not the cheapest gear. If you don’t have one, don’t worry. You can still take beautifully detailed photos! If you have a zoom lens, this is the time to use it. When taking photos of flowers, I see a lot of people getting really close with their cameras. This might cause you some problems focusing. You cannot focus your camera at that distance unless you have a macro lens! Instead, place yourself at the minimum focal distance, that is the shortest distance your lens can focus at. Different lenses have different minimum focal distances. You will need to check what is yours in the lens specifications. To take the photo, place yourself at that distance from the subject and zoom in as much as you can.
If after zooming in you still don’t manage to get the close up you want, you can crop the image in post-processing. Remember though that when you crop you are removing pixels from the image and this might affect its quality, especially if you want to print it.
9. Photograph in Bad Weather Conditions
Outdoor gardens might be challenging when weather conditions are not ideal. Have you ever tried to take a photo of a flower when it is windy? It is challenging! Use fast shutter speed to avoid unwanted blurriness due to the subject’s movements. As it might be difficult to focus, try ‘Continuous/AF-C’ (Nikon) or ‘AI Servo’ (Canon) focus modes. Check in your camera Manual how to select it. You can usually do it through the camera menu or a special bottom for autofocus modes. Once selected, when you half-press the shutter release, your camera will help you to focus by automatically tracking the subject’s movements.
If it is raining, remember to protect your gear. There are special rain protectors that allow you to operate your camera through special openings while blocking rain from reaching the camera. If you find yourself in the rain without a cover, try to find a regular transparent plastic bag and build a DIY cover. It is not going to be as comfortable as the rain cover, but at least you will be able to take the photos without ruining your camera!
10. Use Color to Make Your Nature Photography Stand Out
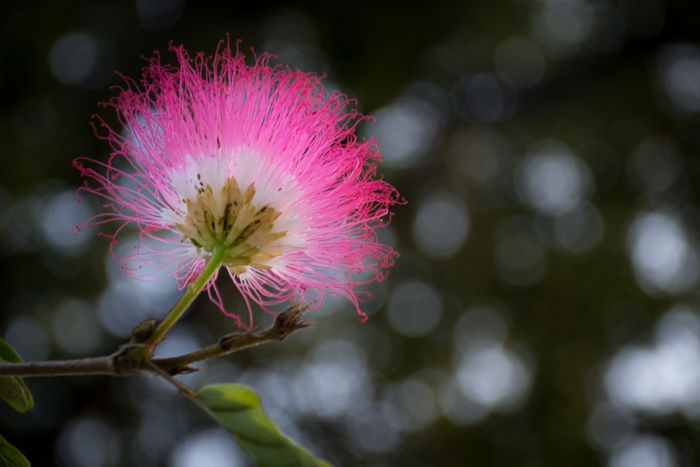
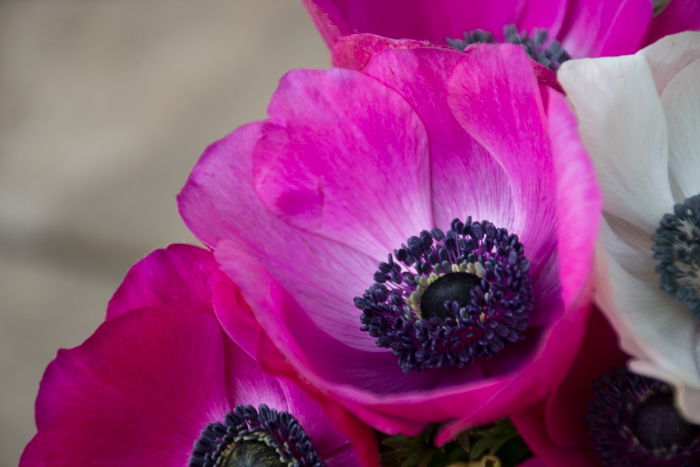
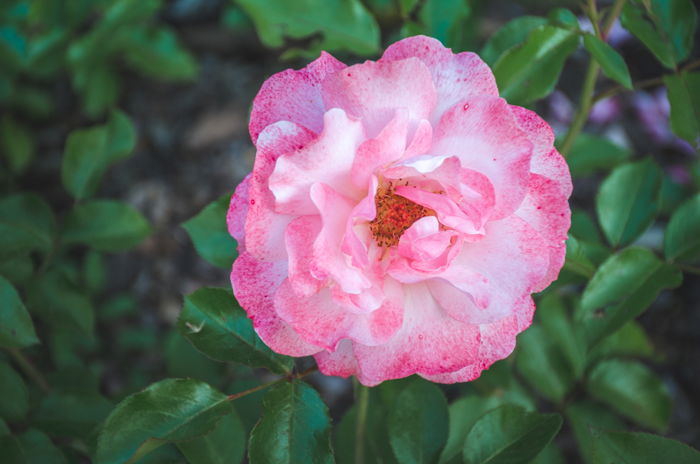
Gardens are full of beautiful colors. Combining them in certain ways will favor your subjects, making them more interesting for the viewer. Today I am not going to go in depth into color theory. It is a wide subject that deserves several tutorials all by itself. But I can give you some tips that you can easily apply in gardens. There are color combinations that will give high contrast in your image. One is red and blue. For example, a red flower with the sky in the background. Another is green and pink. Any pinkish flower will look great on a background of leaves. In general, you can combine light colors with dark colors to get a nice contrast in your photos. Dark green leaves will combine well with light color flowers and light green leaves with dark color flowers.
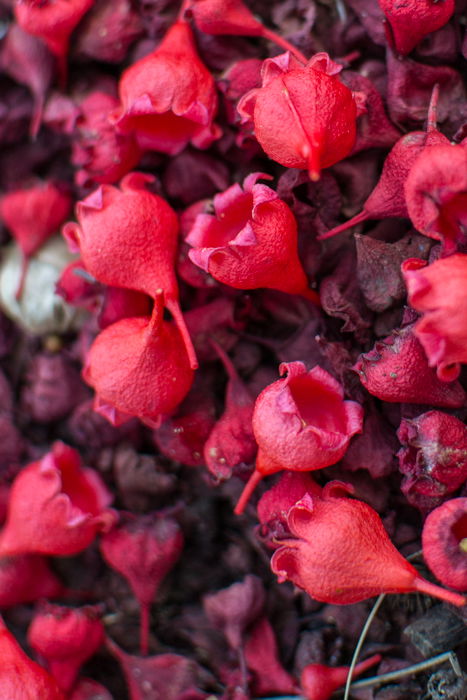
Instead of using contrasting colors you can take monochromatic photos. Look for subjects that have different shades of the same color. This is a more subtle color combination that provides a harmonious look.
Conclusion
Garden photography is a great way to improve your photography skills and it is easily available to you. From practicing garden photography you will get to understand the best light conditions for your subject, how to use a reflector, practice composition rules and even how to deal with uncomfortable weather situations. Have fun, enjoy your time in the garden. Once you have your photos, print them or share them so other people can enjoy them too! We have a great article on taking beautiful dragonfly pictures, or 25 awesome photography facts you probably didn’t know next!