In this article, you’ll see how to make a shadow in Adobe Photoshop. You’ll be able to add a shadow to a photo with a white background as well as a natural landscape scene.
How to Make a Shadow In Photoshop
Let’s get started with this simple Photoshop tutorial.
How to Add Shadows to a White Background
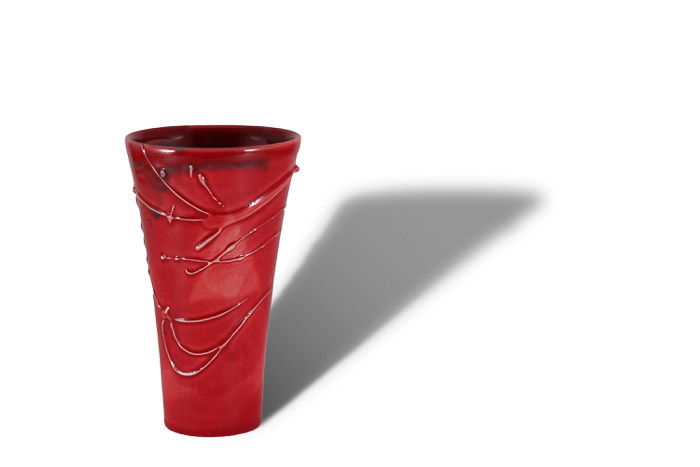
A blank white canvas is the easiest place to begin if you want to create a shadow in Photoshop. And you can practice the basic steps needed for creating realistic shadows. White backgrounds are very typical of product photography. But these images don’t contain shadows when photographed in a lightbox. Here you’re going to see how to make a nice soft drop shadow. Not a hard one like you’d get from a direct strobe flash.
Create a Drop Shadow
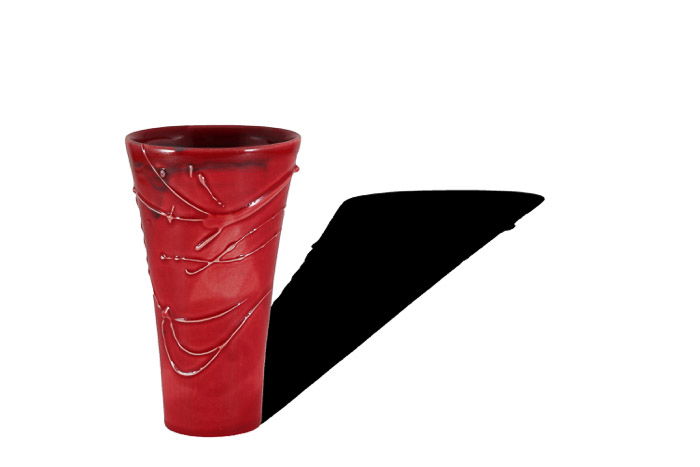
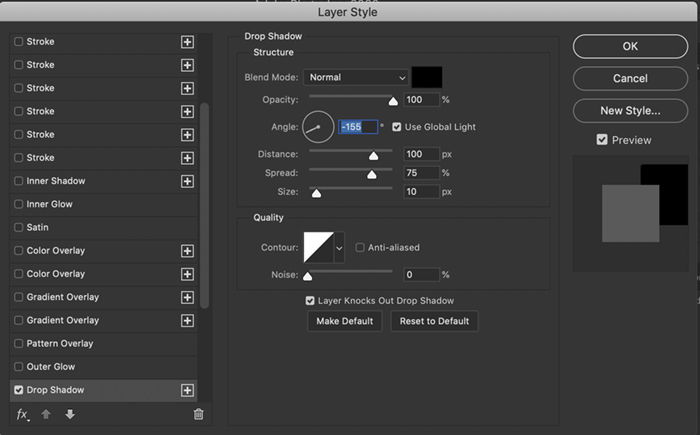
The first step is to create a drop shadow. This is a fairly straight forward task. Here are the settings in the Layer Effects dialog box. The drop shadow needs to be stretched out so it appears more realistic.
Make the Shadow Realistic
The next step is changing that shadow into a realistic shadow. Change the drop shadow into a new layer. Now you can manipulate it on its own. Follow these steps to make this happen.
Finishing Touches
This shadow should be stronger near the base, and more diffused, lighter near the top. To do this, create a second shadow layer. You’re done! Your shadow should look natural— as if it’s always been there.
How to Add Shadows to a Landscape Scene
Look for the Light Source
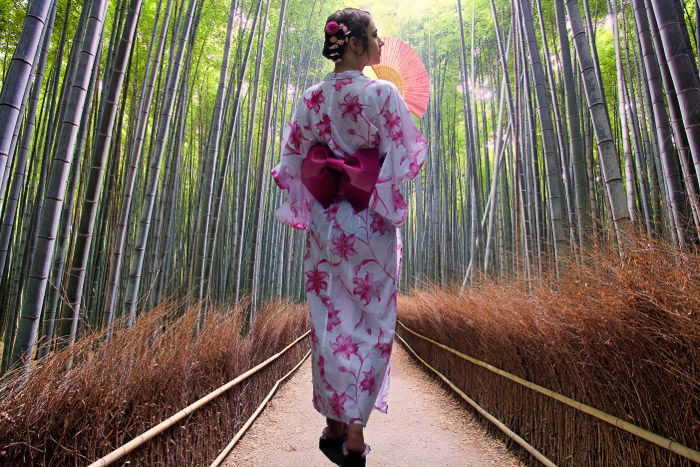
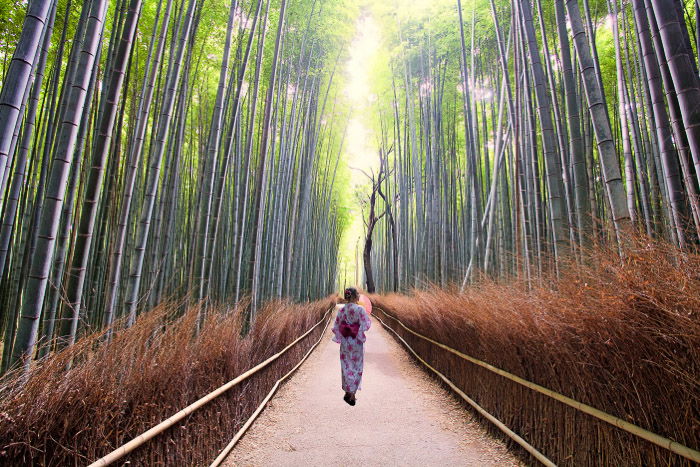
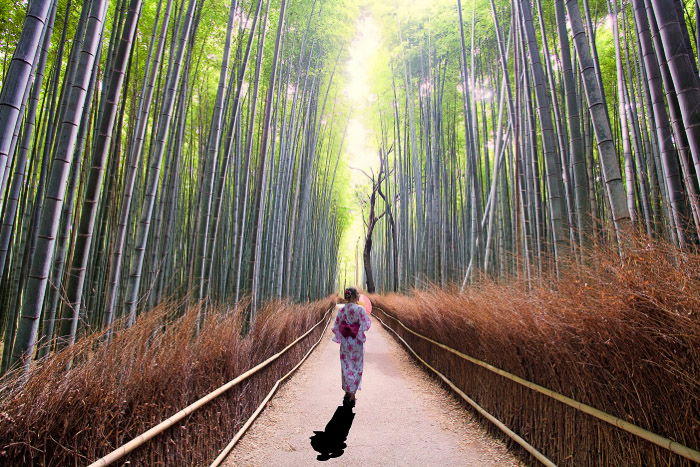
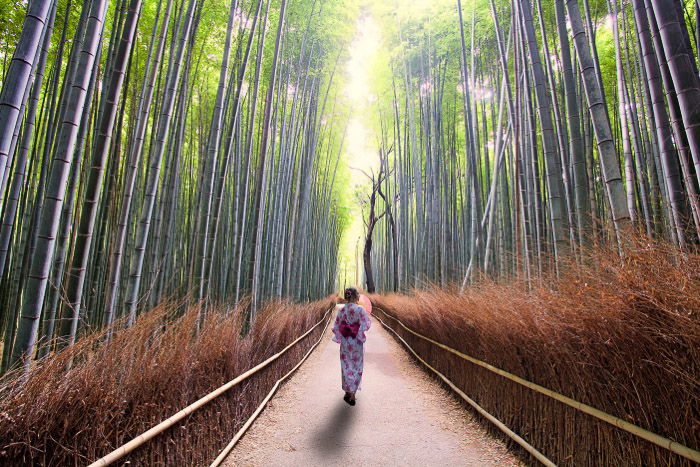
Compositing an image into a scene that has natural light needs care and attention. One of the most important aspects is adding a shadow to go with the composite image. To do this, you’ll need to see where existing shadows in your scene fall. That means looking at objects within your frame to see the direction of the light. You’ll also want to make sure your shadow matches the color cast of other shadows in your scene. In the scene chosen for this tutorial, the light is in front of the camera. The bamboo forest has also diffused it.
Paste Your Object Into the Scene
Our object is a person. This person has been cut out of a photo taken on the same day as this photo. This helps the light on the model to be consistent with the rest of the scene. But we need to add the shadow. Here’s how:
Shape Your Shadow
Soften the Shadow
Now, you’ll need to soften the shadow. Use the same procedure as before following the steps in the “finishing touches” section of this article. Change the fill and add a layer mask with a gradient tool. The key difference here is that the shadow is going to be more diffused for this photo. In the Gaussian blur dialog box for the darker shadow, the pixel radius is set to 25 and the lighter shadow is set to 50.
Conclusion
Learning how to make a shadow in Photoshop is easy. The trick is adjusting the effect so it looks natural. There are three key steps:
Add a new layer from the layer effect. Adjust the size and shape of the layer to make a more realistic shadow. Use the gradient tool to fade the shadow.
If you’re new to this technique, I hope you’ll enjoy this, and try it yourself. Are you looking for more great Photoshop tips? Why not check out our new post on using the photoshop warp tool next! For all you need to know about Lightroom, try our Effortless Editing course!
