Here are 8 tips to keep in mind for the next time you shoot cupcakes. [ExpertPhotography is supported by readers. Product links on ExpertPhotography are referral links. If you use one of these and buy something, we make a little bit of money. Need more info? See how it all works here.]
8. Cupcake Photography: Tell a Story With Your Cupcake Photos
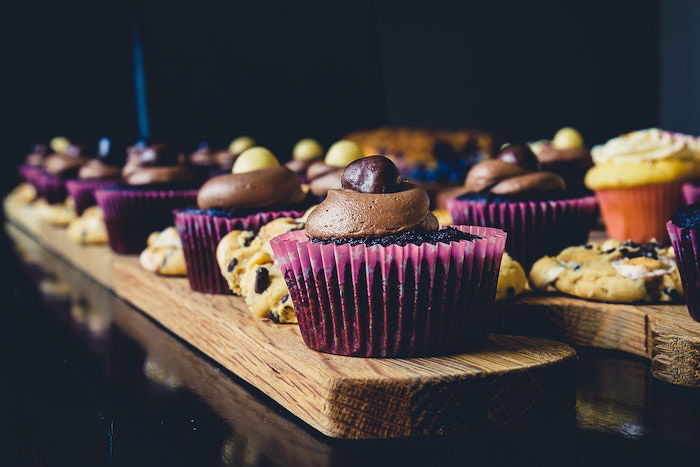
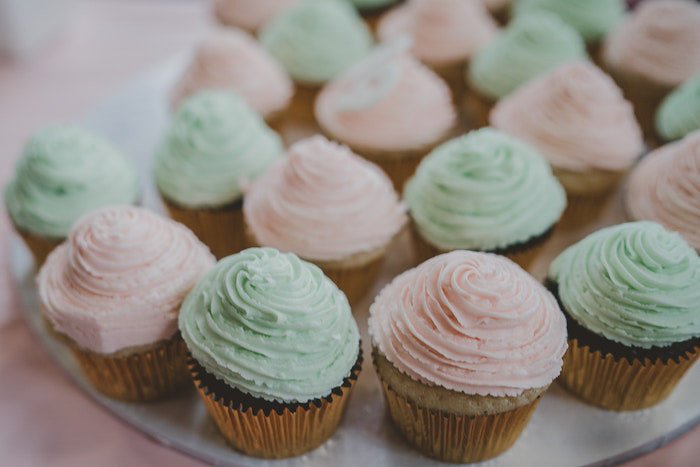
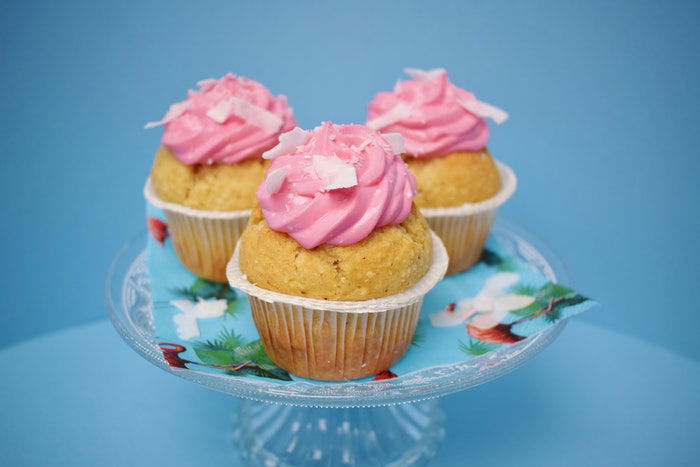
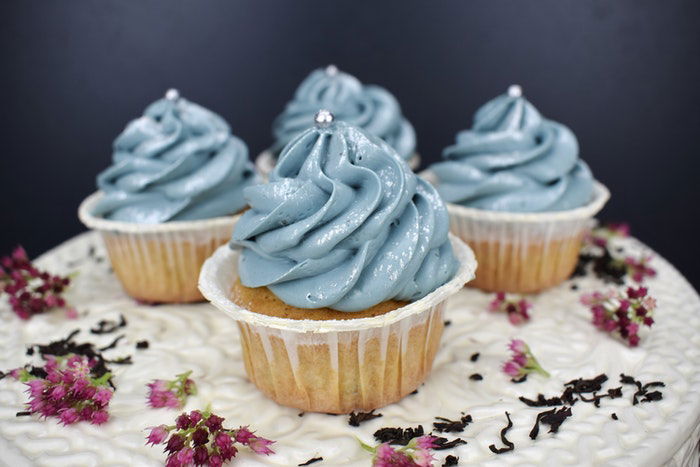
The first step in creating cupcake photography is to decide how you want to capture them. Are you looking for a bright and airy shot? Or do you want to create a dark and moody feel? Even minimalist photos should convey a sense of atmosphere. Or they can suggest a wider story. Will the cupcakes be served at a wedding or an engagement party? Or are they for a children’s party? Have an idea of what food story you want to tell and set your scene appropriately. You don’t need a lot of cupcake props. But the colors and textures of your backdrops and any additional elements will be essential for creating your desired atmosphere. Cupcakes are often photographed against pastel or bright backdrops. Chocolate cupcakes can look fantastic with a black or dark background, especially in a shade of deep blue. And you can create a pink fantasy world with strawberry cupcakes. You might want to choose only one prop. A cake stand or a tiered cookie stand works great to show off your cupcakes. I like to use colorful sugar sprinkles for my funfetti cupcakes. I also like placing a few pieces of chocolate and fruits around the tiny desserts. When deciding on props, make sure they are cohesive with your cupcakes. A knife with a bit of frosting on the tip makes sense with your subject. A pair of botanical scissors don’t.
7. Emphasise Different Textures with Lighting
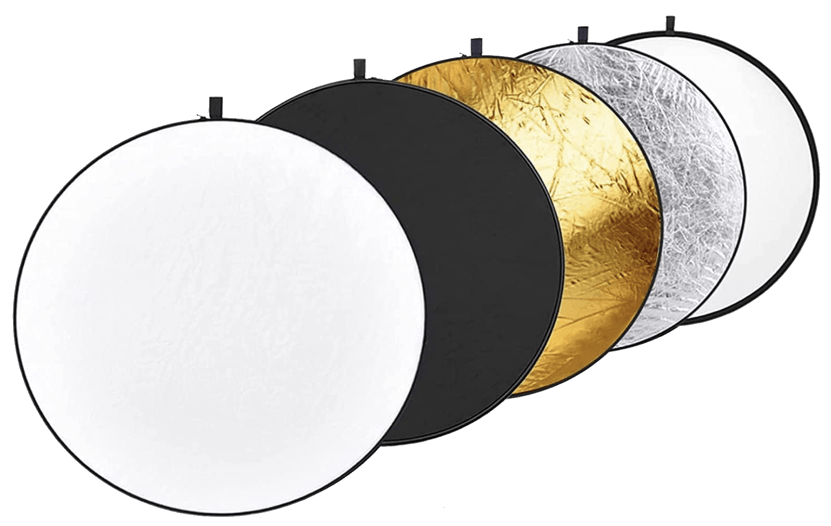
The direction of your light is a very important step when planning your cupcake shots. In food photography, we stay away from lighting from the front. This creates flat-looking photos that lack the shadows that give our images life. This leaves us with side lighting, backlighting, and side-backlighting. Lighting images from the side is a safe approach. It works for a lot of different food subjects, including cupcakes. Be sure to have a reflector or white card opposite from your light source to bounce some of the light back onto the scene. This way your cupcakes will be evenly lit but the light will have dimension. You can also have your light source coming from behind your subject. This works very well to emphasize texture and make your cupcakes glow. The challenge with backlighting is that often the back of the image will be too bright. And the front ends up looking too dark. You can correct this by bouncing some light onto the front. Also, try playing with the distance of your set to the light source. Side-backlighting is when you position your light source in between a side lighting and backlighting set-up. This is a great angle. You can get the pros of the other lighting directions without the cons.
6. Choose Your Camera Angle and Orientation Wisely
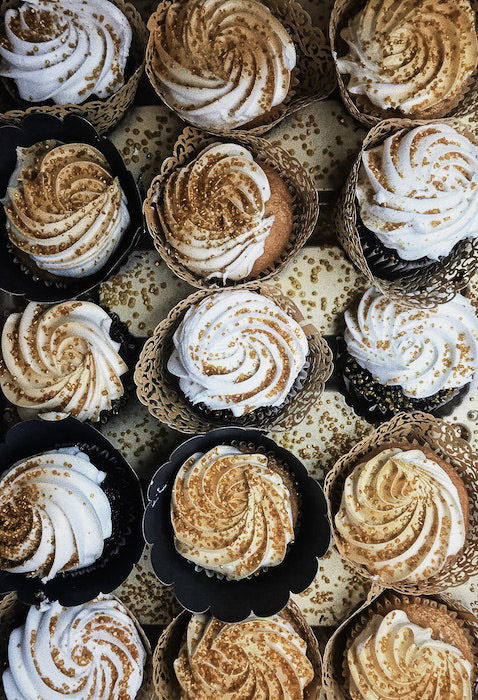
The camera angle and orientation you choose will also make a big difference in your final photos. You can choose a 3/4 angle, shoot your sweet subjects straight-on, or photograph them from overhead. Each of these angles will have a different look. If you want to emphasize the pattern of fancy, piped on frosting, an overhead shot can be a great choice. If you want to show the height of that frosting, shooting your cupcakes at eye-level would make the most sense. Decide whether you want to shoot your cupcakes in portrait or landscape orientation. Cookbooks and magazines usually have a vertical orientation. This is why photographers shoot food photos in that way. This approach may not allow you to put as many cupcakes as you want in the frame. The lens you use will also be a factor. Think about which would bring out the best features of your cupcakes. This will help you choose the best orientation.
5. Make Your Images Pop With Bright Colors
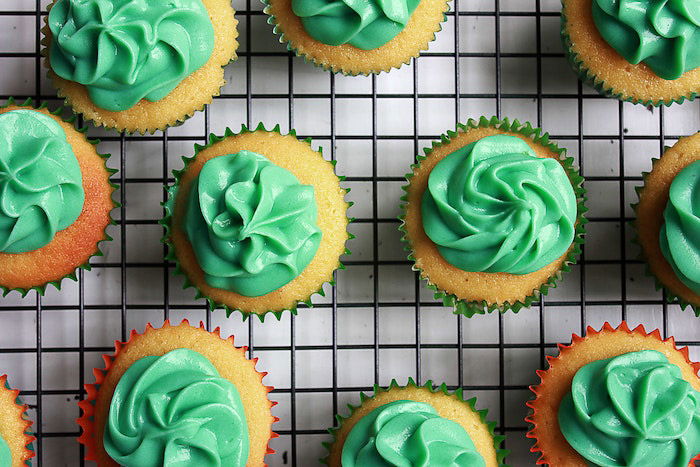
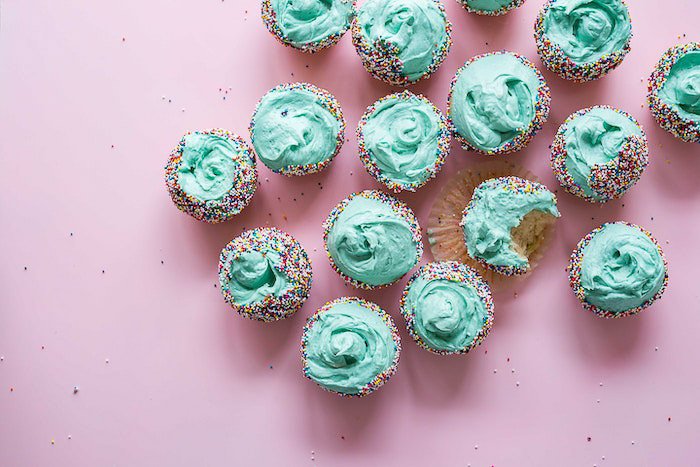
One of the best ways to elevate your photography is to work with the power of the color wheel. It is a simple item that artists use every day. It can help you make decisions about which colors will best play off each other. This way, you can ensure your dessert photographs have that wow factor. Complementary colors lie opposite from each other on the color wheel. Using them can really make your images stand out. I suggest you focus on a couple of colors. For example, the color of your cupcakes and your backdrop. Too many colors in an image will make it look chaotic.
4. Use a Pastry Bag for Piping On Frosting
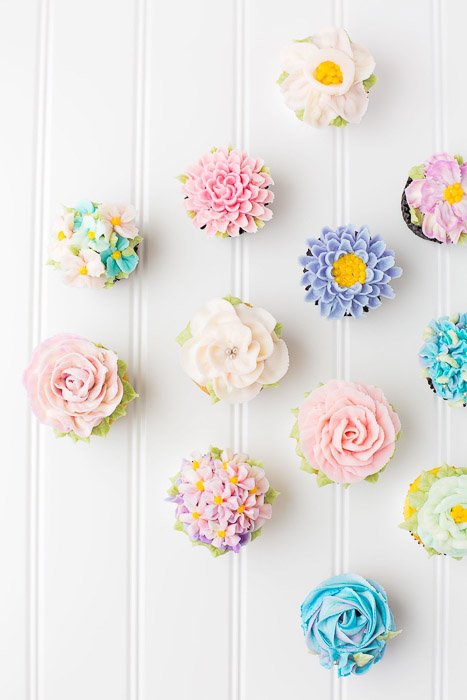
You can frost your cupcakes by spreading on thick icing. Or you can add some extra swirls by piping your frosting on with a pastry bag. You can keep it simple, or get as fancy as you want to. You need some serious skills to decorate your cupcakes as pictured below. But you can also get beautiful results with an inexpensive pastry bag with the appropriate tip. Scoop the icing into the bag and press down as you swirl the contents onto each cupcake with a circular motion. You can find a lot of useful videos on YouTube that will show you different piping hacks.
3. Add Extra Texture With Sprinkles
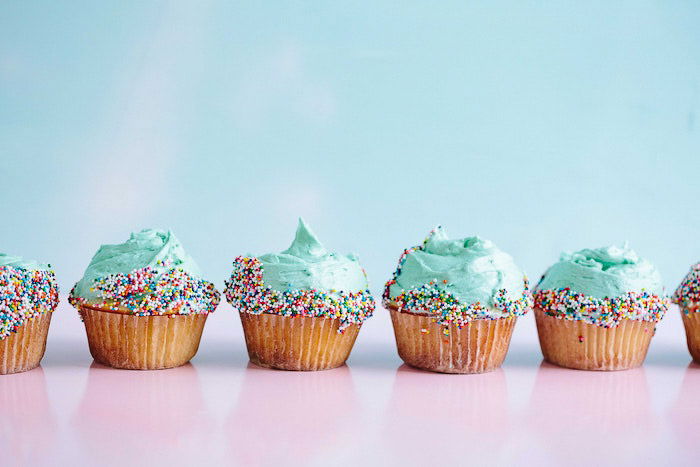
The foods that look best are those with a lot of natural texture. Texture adds contrast and detail. Adding some sprinkles or similar decoration to your cupcakes will make them captivating. Consider the image below. With only the frosting, the image might have looked rather dull. Add some small and colorful sprinkles. This will get your cupcakes to a whole other level! Sometimes less is more though. Don’t overdo it with too much of a good thing. Lots of texture, props, and bright colors can end up overwhelming your viewer. Be strategic with your sprinkles!
2. Use Composition Principles to Create Harmony
When photographing your delicious cupcakes, you must be aware of the compositional principles. Your subject is composed of several of the same items. That’s why the placement of them is crucial. You need to take advantage of the principles of repetition, line, pattern, and shape. Leading lines are the most basic compositional principle. Lines lead the eye through key focal points and elements and keep it focused on the image. Lines should point to the main subject, or into the frame. With cupcakes, this may be one that is a little bit different than the others in terms of shape, size, or some other detail. Before taking a shot, experiment with different patterns and see what looks best. Repetitive elements add interest to an image. But they can also appear monotonous – breaking up the pattern in some way will create a stronger photograph. In the picture below, one cupcake is positioned higher than the others. This creates a subtle break in the rows of cupcakes.
The Rule of Odds will also be useful to you when composing your cupcake images. This principle states that an odd number of objects are more appealing to the viewer than an even number of objects. In food photography, we often use three or five objects. An even number of elements compete with each other and divide the viewer’s attention. But an odd number of elements create a more balanced and harmonious composition. They create a resting point for our eyes.
1. Take Your Photos to the Next Level in Post-Processing
When editing your image, be sure to get the right balance between your whites and blacks, as well as between your shadows and highlights. These basic edits will give you the correct foundation to play with the color treatment. If you’re using Lightroom, spend some time in the ‘HSL‘ panel working on individual colors. Brighten them or tweak them to the exact tone that you want. Each camera reads color in a different way. So your images will need some color-work to get them looking great. Using the ‘Vibrance’ slider in the Basic panel is also an important tip. Vibrance will saturate the mid-tones without overdoing the colors that are already saturated. The ‘Saturation’ slider will give you intense saturation that can look fake and unappetizing. If you use this slider, keep it low, such as +5 or +6 maximum. Add a bit of contrast with the ‘Contrast’ slider, or play with the ‘Tone Curve’. Digital files are quite flat. Adding at least a bit of contrast to your food photography is definitely a must.
Conclusion
When it comes to cupcake photography, you can get creative and think outside the box. The Internet is full of cupcake images. How can you approach your cupcake photography a bit differently? You can try using some glossy backdrops or really ramping up the color treatment in post-production. Try these 8 techniques and experiment with you cupcake photography! Eager to learn more about amazing food photography techniques? Why not check out our ebook Edible Images next!
