There are a few techniques that will instantly improve your leaf photos, whether you’re including them in your wedding photography or fine art images. And in this article, I’ll show you exactly what you need to do. Are you ready to take your leaf photography to the next level? Let’s get started.
1. Leaf Photography During Autumn and Winter for an Outstanding Mood
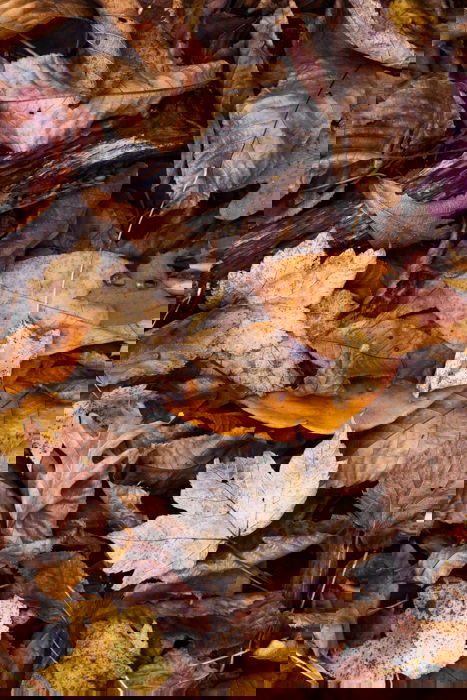
Stunning leaf photography starts with a stunning subject. You want leaves that add contrast. That have character. That create mood. And the absolute best time to find these leaves? Autumn and winter. Not that new leaf photography isn’t great, but there’s just something about the rich russet tones of autumn that make nature photography stand out.
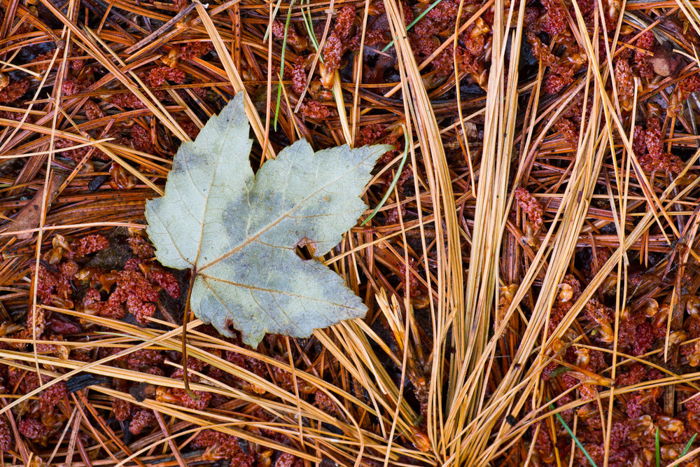
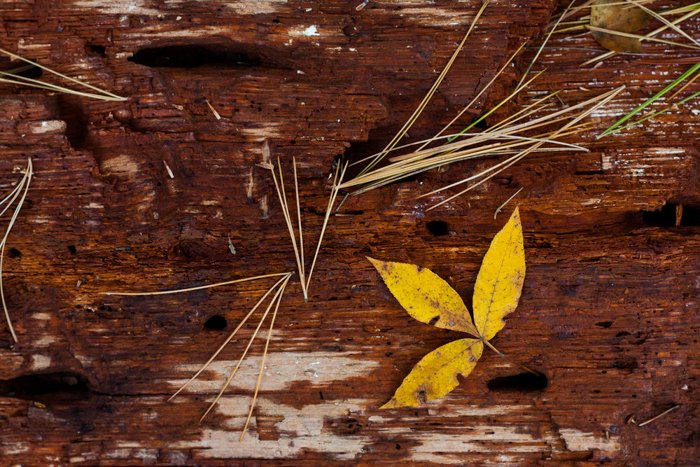
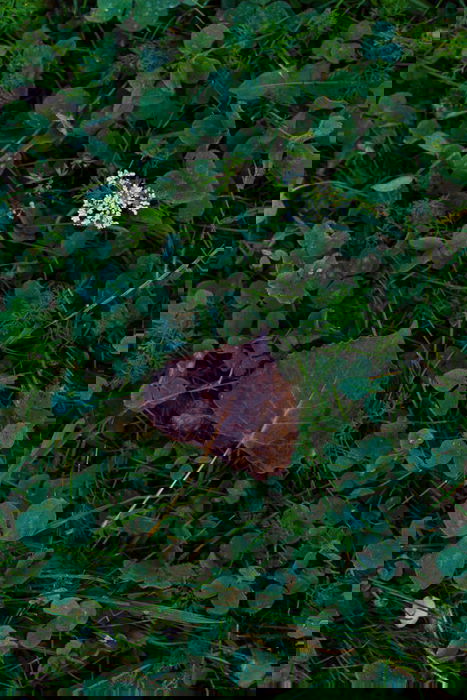
During autumn, boring green leaves turn glorious reds, yellows, and oranges. Everything becomes a potential subject for photography. The mood is nostalgic, with hints of the winter to come. And you don’t have to limit yourself to pictures of leaves on trees. In autumn, even brown leaves on a forest floor bring a somber mood–especially if they’re accompanied by other, more colorful leaves.
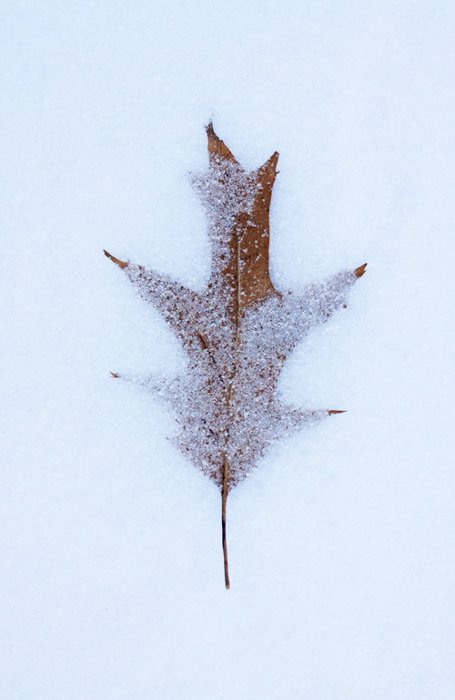
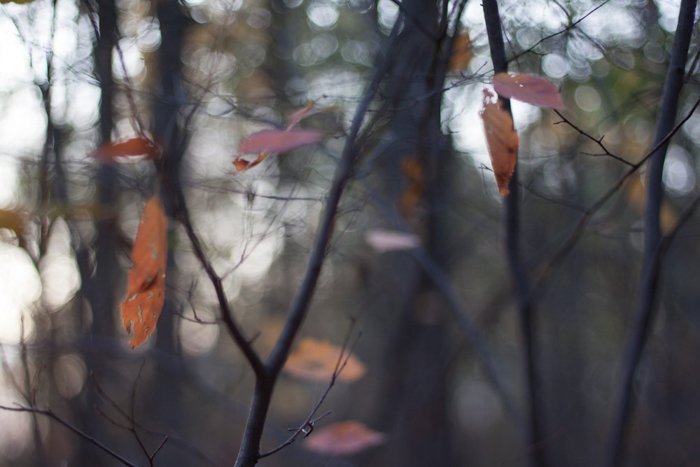
During winter, leaves are few and far between. And leaves that do exist are solitary and weathered. This is perfect for darker, moodier leaf photography. You can channel the darkness of winter in your leaf pictures. And you’ll capture some wonderfully somber photos.
2. Use High-Quality Leaves for the Most Striking Leaf Photography
In autumn and winter, most leaves are in poor condition. They have holes. They’re broken. And you must do everything you can to avoid including these leaves in your photos.
Here’s the thing. You want viewers to be drawn into the frame. You want your photo to be compelling. But if your main subject is broken and full of holes, the photo will lack impact. It just won’t work. You need leaves with presence–which can anchor your photo. That’s why I suggest only shooting leaves that are in good to excellent condition. This might take some searching, but it’s worth it.
In fact, I often spend huge chunks of time looking for high-quality leaves. I walk along woodland paths, scanning the trees and the forest floor for potential subjects. (The actual photography is the fast part!) Now, not every leaf in your photos needs to be in good condition. You can have broken leaves in your frame. But the broken leaves should not be your main subject. Prominent elements in the frame must be in good condition. Otherwise, they’ll just hurt your leaf pictures.
3. Generate Somber Pictures of Leaves With Cloudy Skies
You’ve discovered how to create mood by shooting in autumn and winter. But here’s another way to add to the mood. Shoot on cloudy days.
On cloudy days, the clouds diffuse the sunlight. This creates soft, even natural light–which is perfect for moody leaf photography. Why? For one, soft light is darker. And this darkness gives a somber tone to your leaf photos. Plus, soft light helps bring out colors. And the oranges of autumn and the blues of winter look amazing (and moody) when more vivid. This is why we prefer color leaf photography over black and white. When I say you should shoot on cloudy days, I mean fully cloudy days. Don’t go out when there are a few wispy clouds blocking the sun. Instead, you need a blanket of clouds covering the sky.
That’s how you’ll get that gorgeous, moody light.
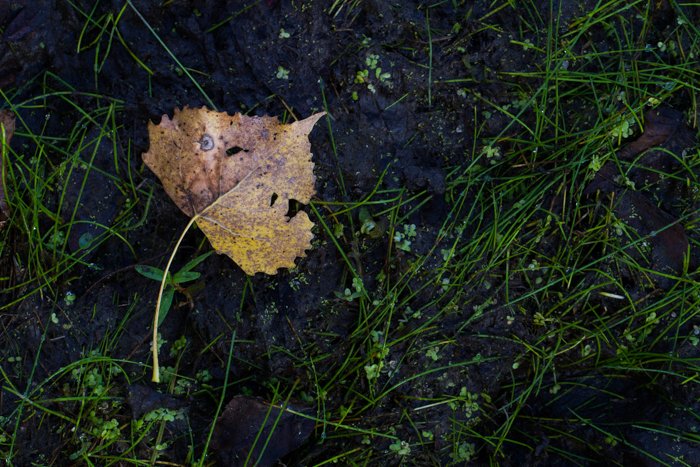
4. Isolate a Single Leaf for the Most Powerful Compositions
How do you create a powerful, impactful composition? Once you’ve found a high-quality leaf, do everything you can to isolate it.
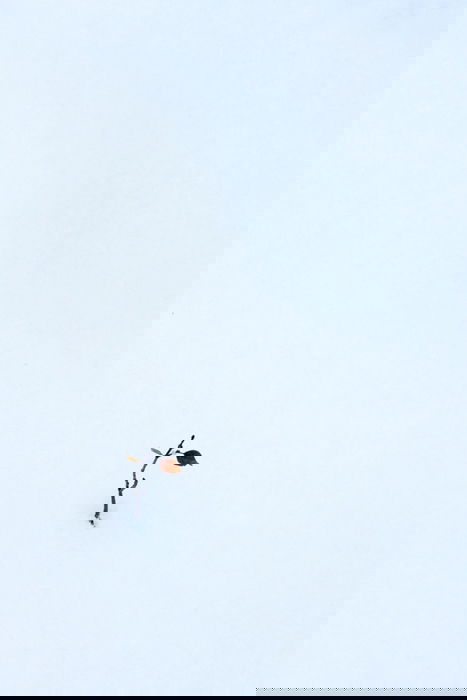
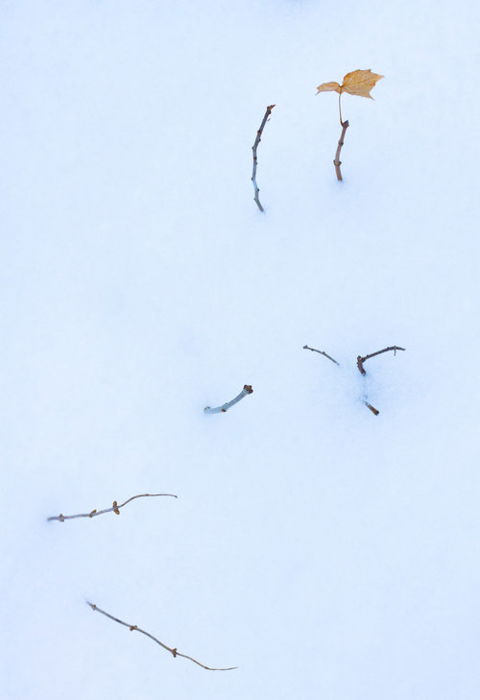
If the leaf is on a tree, angle yourself so that it’s alone in the frame. If the leaf is on the ground, put it on grass or on water. Or put it alone, in the snow.
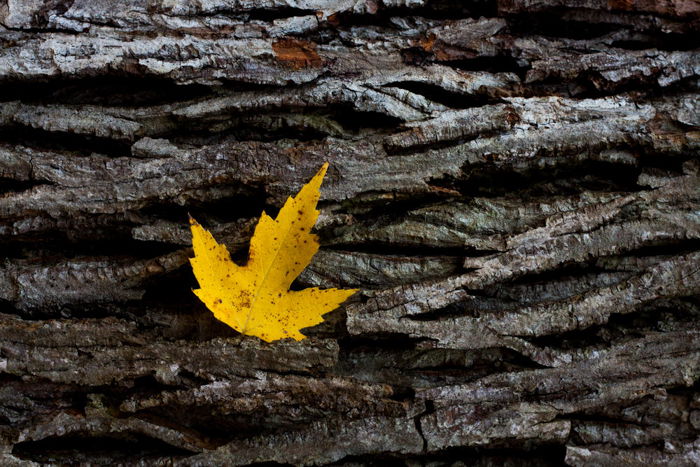
The key is to make the leaf (or leaves) stand out from its surroundings. You want your subject to pop out of the photo. You don’t want it to hide. If necessary, you can remove distractions from the scene. You can move twigs and branches out of the way, and you can remove any surrounding leaves. The goal is to isolate the leaf–so you can get an absolutely stunning composition.
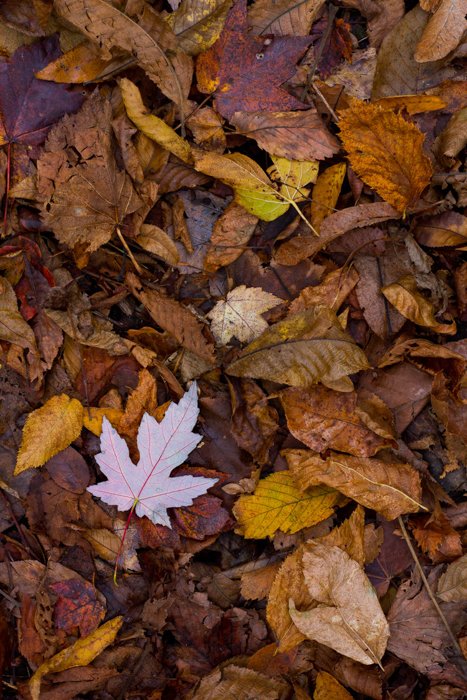
5. Use Contrast to Make Your Leaf Photography Pop
There’s a second trick you can use to achieve the same effect. In fact, I suggest you combine the two techniques! You can use contrast.
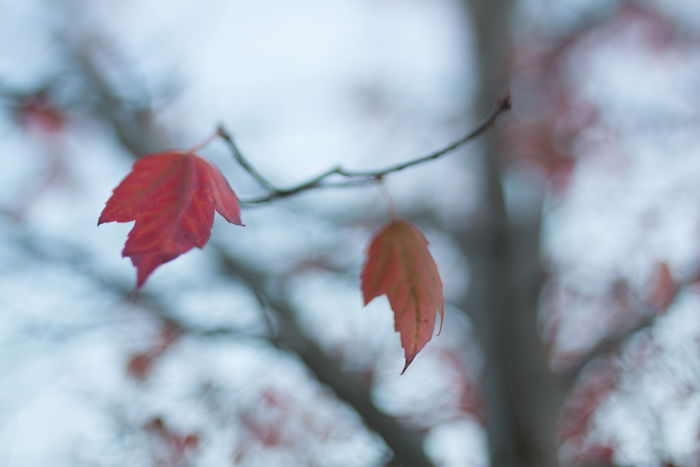
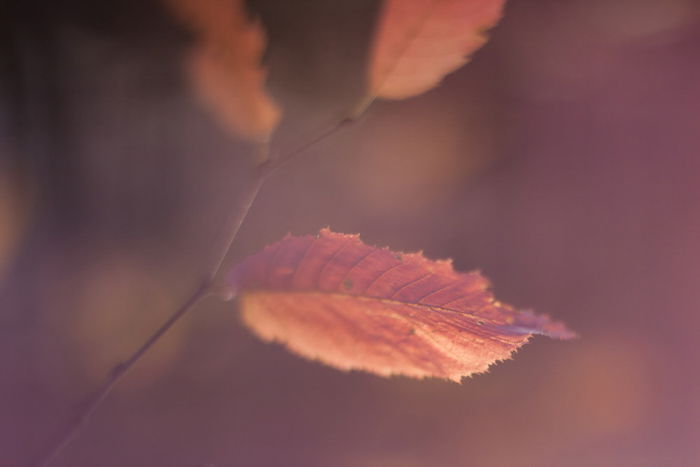
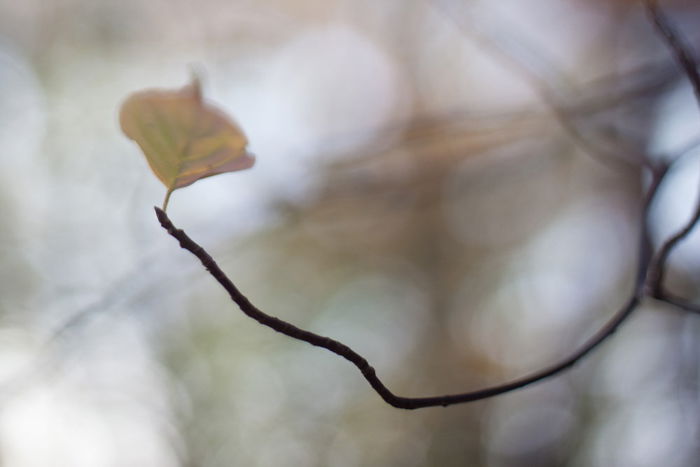
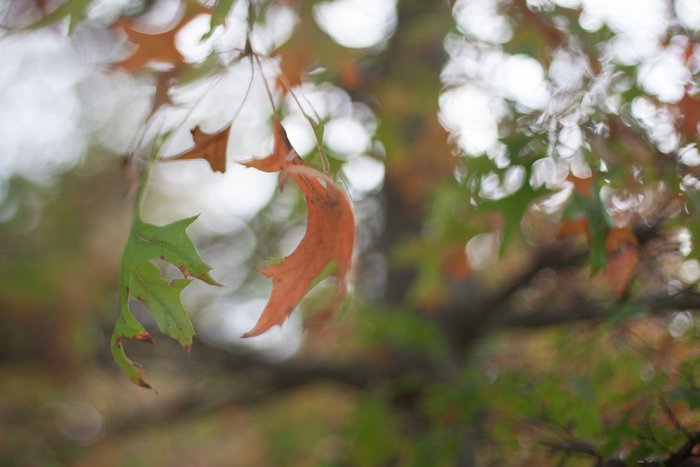
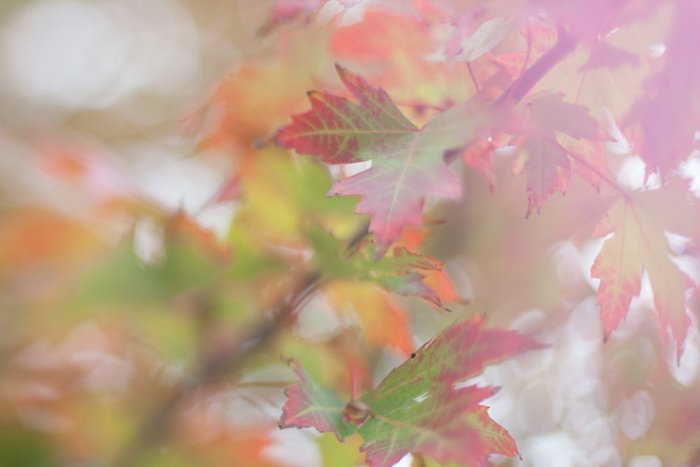
Now, contrast comes in several different forms. And you can use all of them in your leaf photography. For instance, you can use sharpness/softness contrast. That is, you can make your subject sharp, while letting the background go soft, like this:
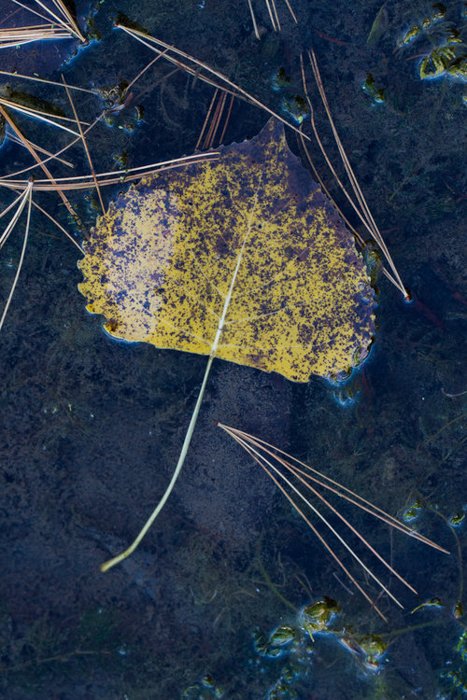
You can also use light/dark contrast. Here, you put a darker leaf on a light background–a background of reflective water, or of brighter leaves, or of snow. Finally, you can use color contrast. For this to work, you have to find a leaf that’s a different color than its surroundings. For instance, you can place a red leaf on a green grassy background, or a yellow leaf on blue water.
No matter which form of contrast you use (and you can use multiple forms at once!), don’t go overboard. You don’t want too many levels of contrast within the scene. That will take away from the overall photo.
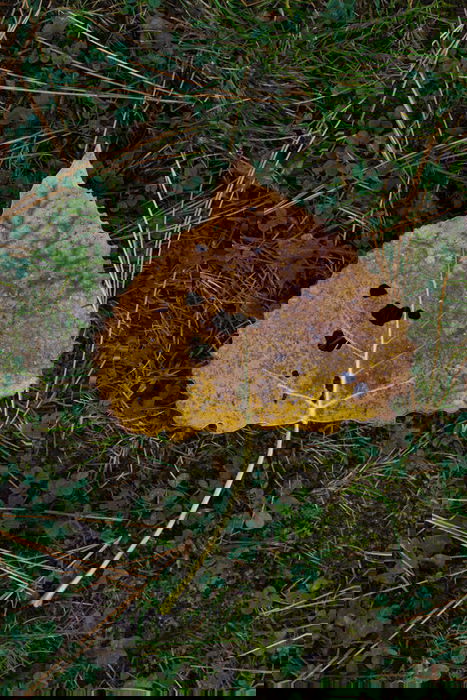
6. Use a Narrow Aperture for Graphic Leaf Landscapes
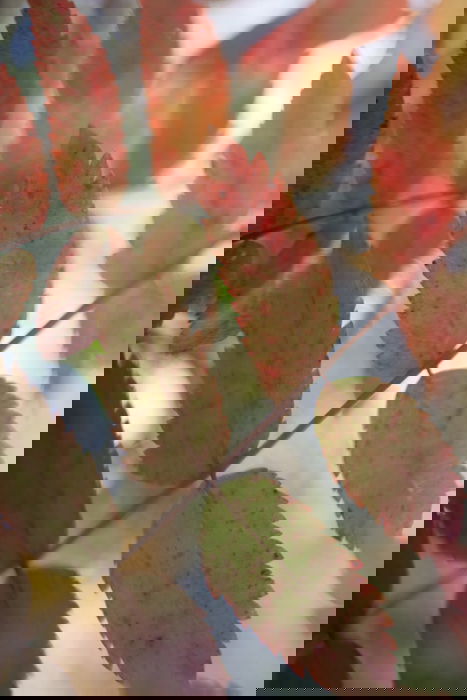
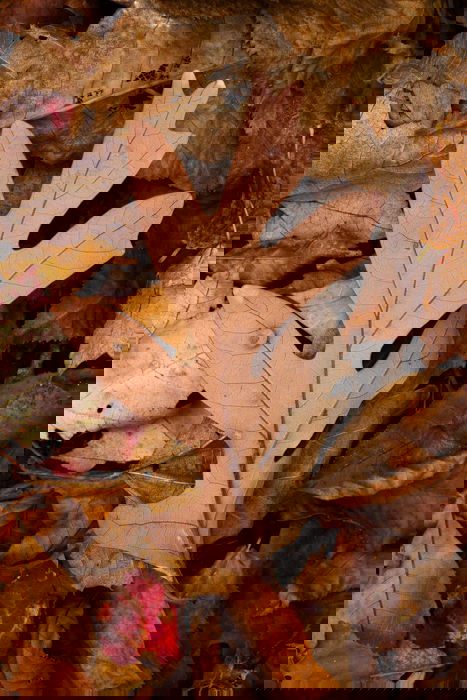
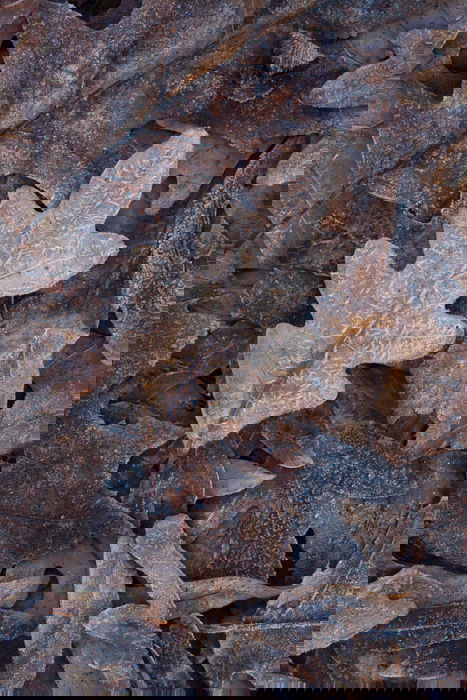
If you look at my example photos above, you’ll see that I have a mix of sharp and soft backgrounds. Some of my leaf photos are sharp through and through, and others show sharp leaves in a sea of softness. But if you want to capture graphic, beautiful landscapes from leaf photos, then you should make the whole frame sharp. There shouldn’t be a single spot of blur in your photos. I’m talking about photos like this:
And this:
Notice how these pictures of leaves are both simple and interesting. They have clear subjects, clear backgrounds, and powerful compositions. But these photos need to be sharp through and through. Otherwise, the shot won’t have the same graphic appeal. To make the whole frame sharp, you should use a narrow aperture. If you’re not using it already, this requires Aperture Priority mode (or Manual). Dial in something in the f/11 to f/22 range, depending on the depth of your scene. If your scene is very flat, then you can probably get away with an aperture of f/8.
This begs the question. Should you use a tripod? I generally don’t use a tripod when doing leaf photography. I find it limits my creativity. If you find yourself wanting to shoot scenes that require high apertures, you’ll need to invest in a good tripod.
7. Incorporate Lines to Lead the Viewer Through the Frame
If you want to create especially engaging leaf compositions, then I urge you to use lines. They will lead the viewer around the photo.
This is very valuable. The best leaf pictures don’t just draw you in. They also keep you interested. Once you’ve found a scene you want to photograph, look around. Do you see any lines that seem engaging? Any lines that could be used to direct the viewer? Curves are a particularly useful type of line. They bring the viewer through the frame, but don’t have the static feeling of lines. Note that nearly anything can be lines or curves, as long as you emphasize it within the photo. The edges of leaves, branches, twigs, it all works!
Once you’ve found your lines, compose your photo so that the lines direct the viewer around the frame–and lead back to the main subject.
8. Work With Creative Techniques to Create Original Leaf Pictures
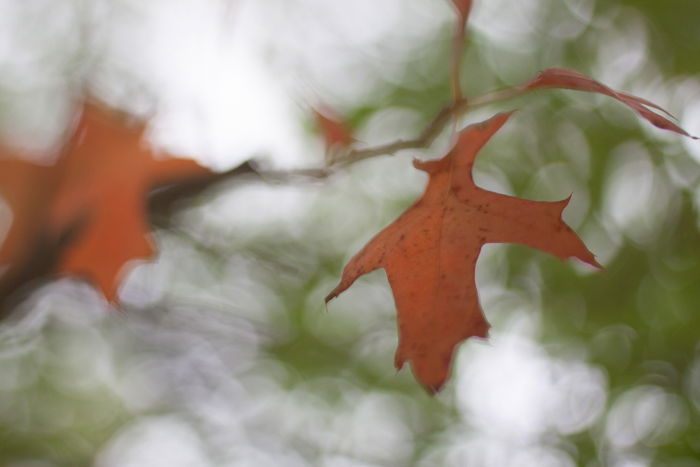
There are a number of creative macro photography techniques that will get you interesting effects. They’ll help you create unique photos, again and again. First of all, you should try freelensing. It’ll give you interesting tilt-shift focus effects, like this:
To freelens, simply focus your lens to infinity, then detach it from your camera (though make sure your camera is off, first!). Turn your camera on, and move the lens from side to side–watching as the focal plane shifts. Freelensing can give you all sorts of creative looks. And it’s a technique that every leaf photographer should try!
Freelensing exposes your camera sensor to dust. I recommend freelensing with a backup camera body–one that you don’t mind dirtying. I also recommend using the ‘shooting through’ technique. This involves focusing on a distant subject. Then place some vegetation (including leaves) directly in front of your lens. Your final shot will have a beautiful foreground wash. One that looks absolutely stunning!
Conclusion
You should now know exactly how to capture amazing leaf pictures. You know how to choose a subject. You know how to use the light. And you know how to create stunning compositions. All that’s left to do? Get out and start shooting! You’ll get some amazing photos you can turn into leaf prints for home decor, or even lay out during the reception for your wedding.