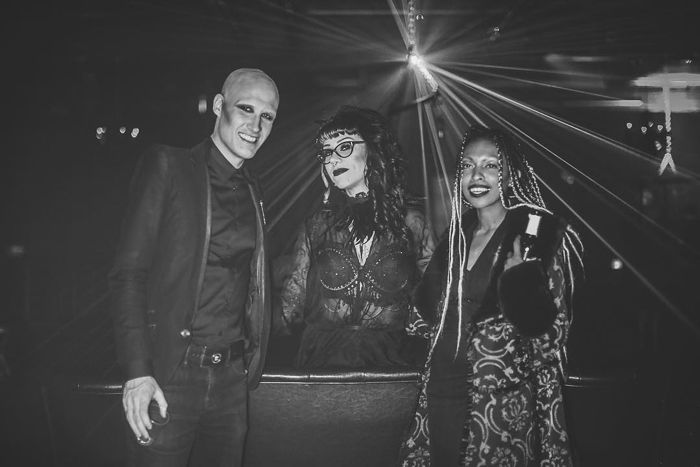
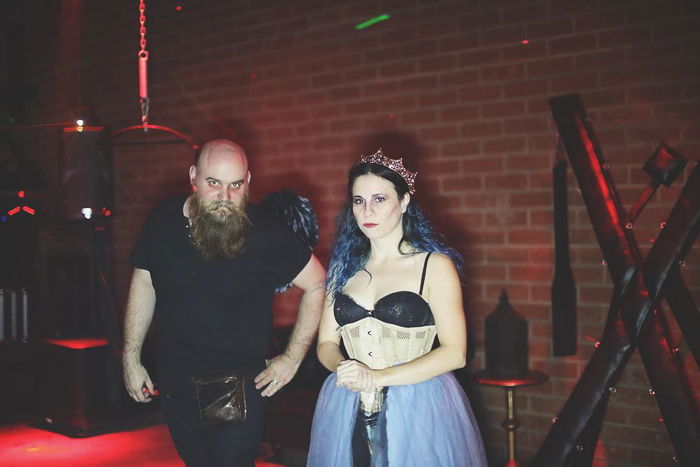
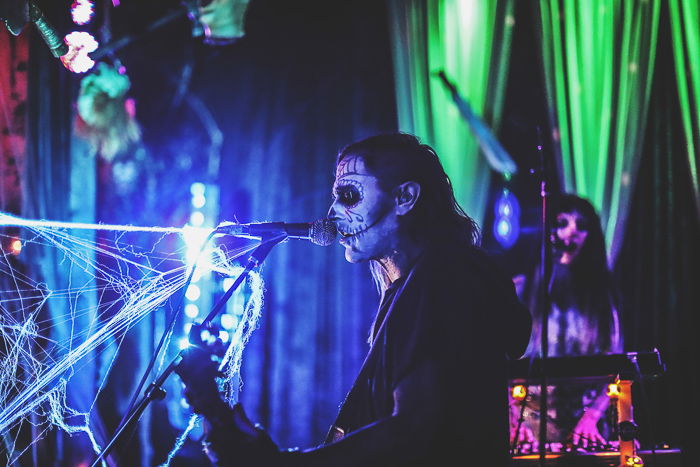
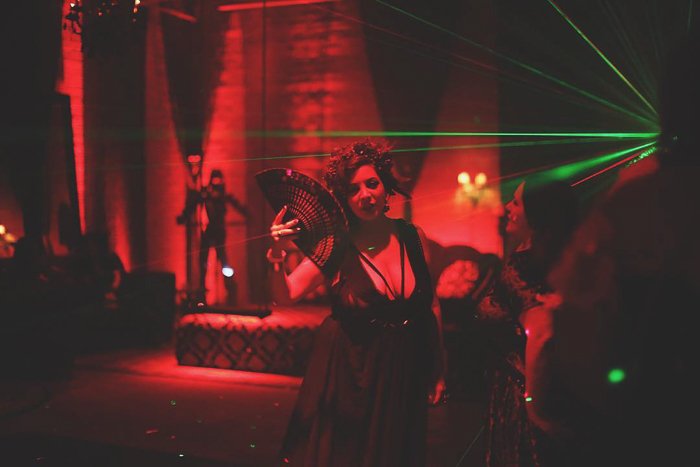
7. Club Photography: Grab a Camera With Low Light Capabilities
The camera you’re going to want to look for is one that does well in low light. There are other factors that also matter, such as megapixel number. But low light capability is the most important for this line of work. Look for models that have less noise at higher ISO levels and sensitive sensors that do well in difficult lighting situations. Higher megapixel counts pick up much more detail, and this can make a difference when you look at the finished images. Commonly used camera bodies for concerts in Canon include the 5D line and 1Dx line.
6. Use a Lens With a Fast Aperture
A lot of the quality and final image look is based on the type of lens you use. Since we are shooting in low light, I highly suggest only looking at lenses with a maximum f/stop of 2.8. Lower is even better. If you want to take a well-exposed photo in low light, you need a lens with a wide enough aperture to let in more light. Using a lens that goes down to f/1.8, for example, is a great way to let enough light in and make the frame bright. Remember, the aperture is the hole that light passes through in your lens. The wider the aperture, the more light that enters the camera. And the shallower the depth of field. Shallow depth of field is great for clubs because the scene can be rather cluttered compositionally. Only having one subject in focus with the rest blending into a creamy bokeh makes for a much more visually pleasing and simplified image. When looking at lenses, or a selection of lenses, consider your shooting distance as well. Are you photographing from the photo pit (the barricaded section at the front of the stage intended for photographers)? The crowd? Are you doing portraits of the attendees, shots of the performers, or images of the entire venue? How deep is the stage? These are all important questions to ask yourself when determining the equipment you need. I always suggest taking a wide lens and a standard lens as mains, and a telephoto or zoom lens as secondary.
5. Lighting Conditions in Nightclub Photography
Having a good grip on the available lighting will aid you in your club photography journey. Lighting can differ tremendously between shows, venues, and even what lighting is available for that evening. The lighting can range from bright white strobes to deep reds. Understanding how lighting is photographed by your camera, how it reflects on the environment, and how the bulbs affect the performer’s or club goer’s skin tone will change how you take the photograph.
Most Common Lighting Types You’ll Encounter
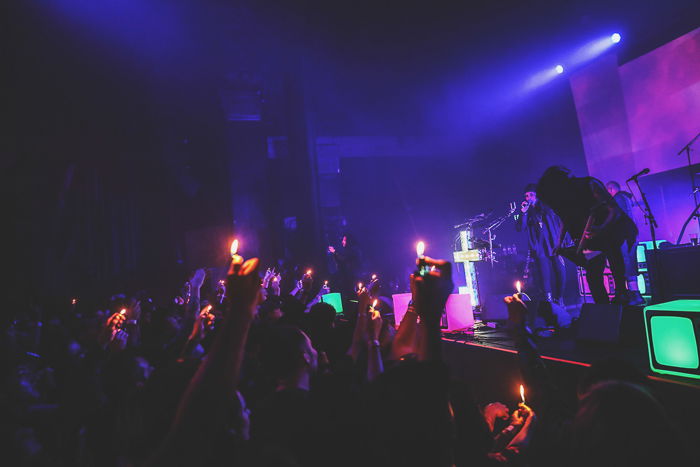
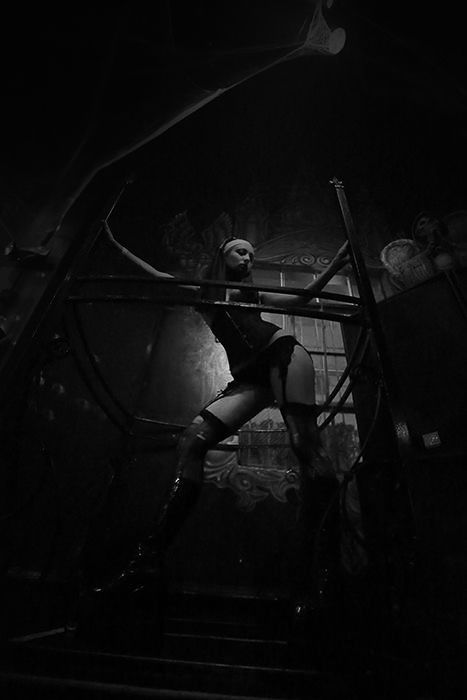
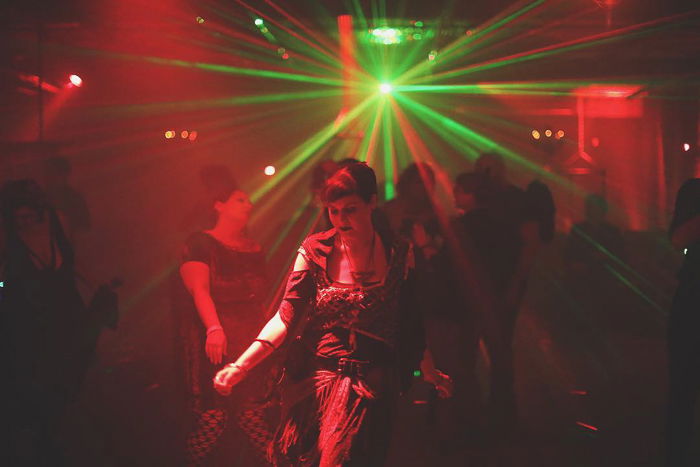
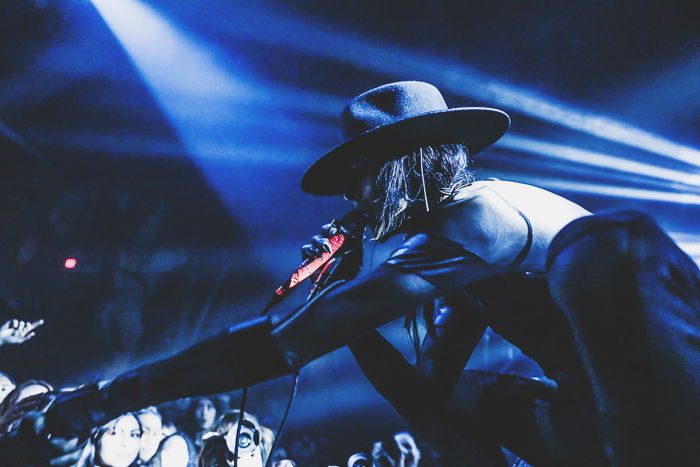
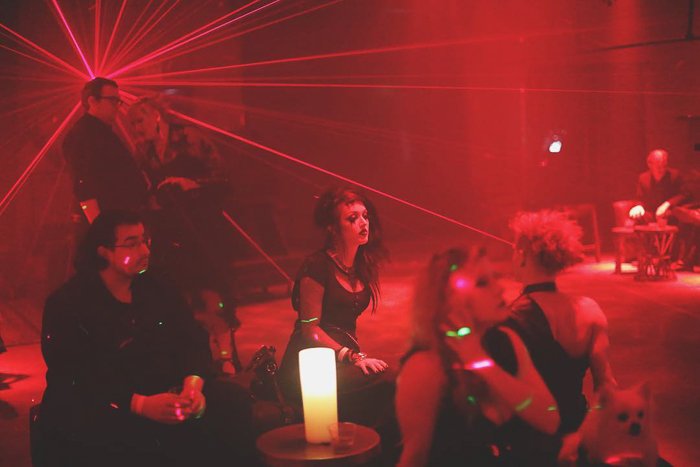
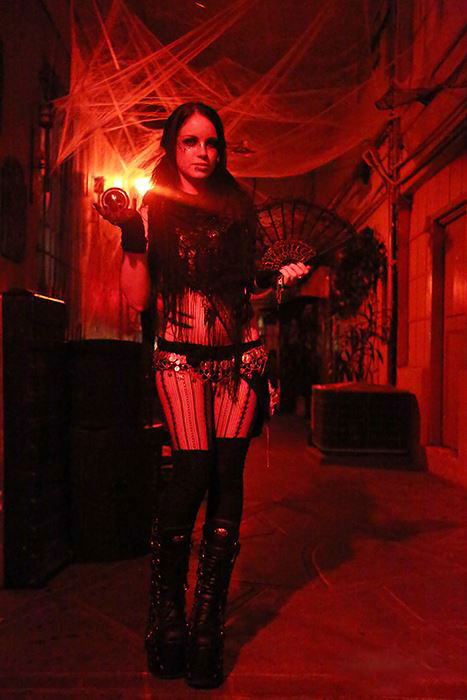
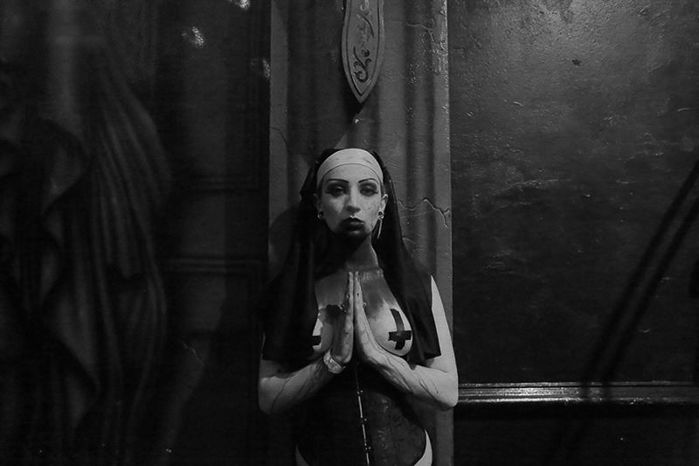
Strobes. These flashing white lights are notable for being one of the hardest to shoot through. The lights are flashing and white light is notoriously easy to overexpose. The best way to shoot through this is to try and synchronise your shutter with the flashing light. Do this when the shutter is set to burst mode. Hold your shutter down at the first flash of light. Blue, Purple, or Green Light. These colors tend to come out rather dark on camera, so be sure to raise your ISO or lower your shutter a bit for these. Keep the changes small though, or you’ll lose a lot of details in the skin! Orange and Yellow Light. This light mimics sunny or golden hour lighting when shooting outdoors. I find it to be the easiest to photograph. You have a lot of opportunity to raise your shutter fairly high and freeze the action. Red Light. Every photographer’s headache is the dreaded red light. It’s dark to shoot and tends to destroy details. However, red light can also make a very dramatic and moody image if that is what you’re going for. And it looks pretty good when converted to black and white. Backlight. Backlighting is when either of the lights mentioned above are set behind the subject. This light tends to blow out the background and darken the front. Decide which is more important to light for you, and stick to that! As for actual crowd shots, some clubs will allow you to bring your own lighting, such as an off-camera flash or a continuous light. If you’re using an off-camera flash, bounce the light off of the ceiling, not the subject’s face as you do not want to blind them! With continuous light, keep the light off when not in use to not mess with the vibe of the event.
4. Settings for Nightclub Photography
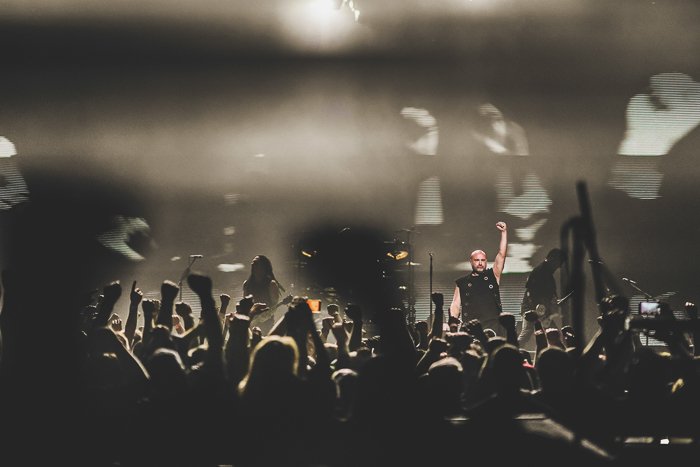
The best settings I’ve found include switching the camera to burst mode and the focus to continuous. Burst mode is where you take multiple photographs in a row while pressing down on the shutter, and this can be found in the menu of most camera models. This burst setting is a must-have when strobes start going off on stage, or the crowd is hopping around excitedly. Continuous focus has different names depending on the camera brand (AI Servo for Canon users or AF-C for Nikon users). This mode allows your camera to lock onto your subject and follow the subject around as it moves. It prevents you from constantly needing to refocus. The default setting is One Shot, and this doesn’t bode well for concerts. It’s meant for a subject that doesn’t move. Some new cameras allow you to either use the Continuous Focus Mode presets or make your own that pertain to what you are shooting. For example, on the Canon 5D Mark IV, you can tell the camera how your subject moves and what obstacles may be present. You can adjust the various levels of sporadic movement, obstacle interference, and more. When you look down at your shooting settings, they may look a bit odd to image makers that don’t shoot dimly lit events. With very high ISO numbers paired with odd shutter speeds, be prepared to shoot with settings that may be logically counterintuitive. Often times, your ISO numbers will be large and your shutter speeds will be a bit on the lower spectrum in order to accommodate the dark lighting situation. Sometimes, your ISO will be very low and the shutter very high to handle super bright white lights. Whatever photographing scenario you are involved in, don’t mind odd setting arrangements and focus on exposing your shot properly. Noise and other such artifacts that might be present due to your bizarre settings can be edited in post processing.
3. Capturing the Vibe, Groove, and Feeling
Much of nightclub photography is keeping true to the vibe of the night. You want to be able to tell a story through your shots and express the emotion of the evening to all those that weren’t there! This entices newcomers to attend the venue and gives the past ones great memories. The best way to capture the vibe, groove, and feeling is to work with the available light. Capture the scene as you see it with your eyes. As well as this, find key moments in the frame that express what the nightclub is all about. This can be a particularly cool style of dress or a fun dance move. Remember to be a fly on the wall. Don’t involve yourself in the events going on. If you try to control the frame too much, you’ll lose the authenticity of your images.
2. Rules to Follow to Avoid Getting Banned as a Nightclub Photographer
Event photography is very community-oriented. Being granted access to photograph inside of a venue comes with its own set of rules. If these rules are not complied with, you may end up blacklisted. This will ruin any future chance of photographing night club events. Be sure to listen to the shooting protocol you’re given. The following are issues I’ve observed in my time of shooting night club events, and I so wish I didn’t have to point them out! Firstly, don’t elbow, push, or otherwise physically harm the people around you in order to get your shot. I wish this was common sense, but courtesy gets lost in the midst of working. Be considerate of other event goers. They make the event, they are the ones who paid to be there, be kind to them. They want to have a good time too! Do be conscientious of other photographers and treat them as you would want to be treated. There is plenty of room for everyone. Secondly, do not tap, grab, push, or physically touch the performers in order to get a photograph. This is another common sense tip that I’ve seen go ignored more often than I wish to admit. Do not distract the performers or make them feel uncomfortable by touching them. Even if you want to get their attention for a photograph. As a general tip, do not carry bulky camera bags and cases. Hide the carrying case when shooting. Sold out night club events tend to be very limited space. There must be enough room for security, staff, and club goers to get around one another. And enough room for you to be able to move without being stuck. If you have a heavy and large backpack over your shoulders or a suitcase at your side, you are impeding the flow and preventing everyone from moving around. Most photo pit barricades have a space underneath them where you can stow your belongings until you are doing photographing. Or an office in the back of the venue or a shelf behind the bar – use it! Listen to the security, the guards have the final say. Their job is to keep you, the performers and the crowd safe. If security cut your shooting time short or ask you not to do something, you need to comply. Finally, stay observant. I cannot reiterate this point enough. You can get lost in the moment, but a nightclub is not the place to lose yourself. If you do, you’ll most likely get pickpocketed or worse. Make sure you know where everything is at all times – both your equipment, and all of the environmental elements around you.
1. Post Processing Nightclub Photography for More Shooting Options
Editing and post processing are not an excuse for bad photography. But knowing what you can do when post-processing can help you take better pictures. What retouching programs do you own? How well do you know how to use them? How much time do you have to learn new editing techniques? All of this can factor into the types of photographs you take. If you know what you can fix, you can set up certain types of shots that can be considerably difficult to capture without some editing help. For example, if you can fix red light, you can take photographs with that lighting situation without worry. Otherwise, it might be smarter to wait for the lighting to be closer to what you are good at editing, such as white or green. Remember that shooting in RAW mode gives you much more editing capability later on.
Conclusion
Much of the secret to nightclub photography is just a whole lot of practice and experimentation! The more you expose yourself to new experiences and situations over time, the better of an event photographer you will be. Keep practicing nightclub photography in as many places as you can, try new things, and find new effective ways to capture the vibrancy of your subject matter. You never know what might really happen or when you’ll get to take that money shot.
