Step 1 – Setting up your Camera for Party Photography
Assuming your party is either in the evening or indoors, you’re going to want to set your camera to manual mode to take control of the exposure. In low light conditions, you basically have two options: widen your aperture to capture the most light, or use a flash. These produce great results but there’s plenty to be aware of before diving straight in. Firstly, think about your personal style: do you prefer candid photography, or posed group photos? If you like candid photography, a wide aperture is a great choice. You just need to be aware that you’ll still have people asking for group photos and with a wide aperture comes a shallow depth of field, which won’t work so well. If you’re more into group photos, you need a deeper depth of field. To make up for the lack of light, you’ll have to use a flash. It’s no secret that pop-up flash photography looks pretty terrible and is capable of ruining a photo; use an off-camera flash if you’ve got one. Try some of the techniques which we’ll get to in a bit.Make sure that your camera mode is in manual, then start taking some test shots; it will help you to understand what you need to get a good exposure. It helps to know how your camera responds to particular lighting as this makes it easier to set up your camera. I know that my camera doesn’t handle the ISO very well when it gets past ISO1000. I set my ISO here and work with my aperture and shutter speed after that. You’ll likely find that you shoot much wider angles at parties. This is good because it makes it easier to hold the camera steady at, say, 1/50 of a second. So, with my ISO at 1000 and my shutter speed at 1/50, I can easily play around with my aperture, depending on the light and the lens. Aperture is the one thing you’ll probably struggle with at a party, purely because of the depth of field so, if you’re happy to carry around an extra lens, say a f/2.8 or f/3.5 kit lens, that can really help you out. If you can shoot without a flash while using a wide aperture, that’s great; the lighting will look a lot more natural. If not, use a flash. The reason I say carry an extra kit lens is that, if you’ve got a 50mm or a 35mm, you’ll find that you want a wider angle than that when you’re shooting at a party. If you’re using a flash and a narrower aperture anyway, it might as well be on a zoom lens.
Step 2 – Using The Flash
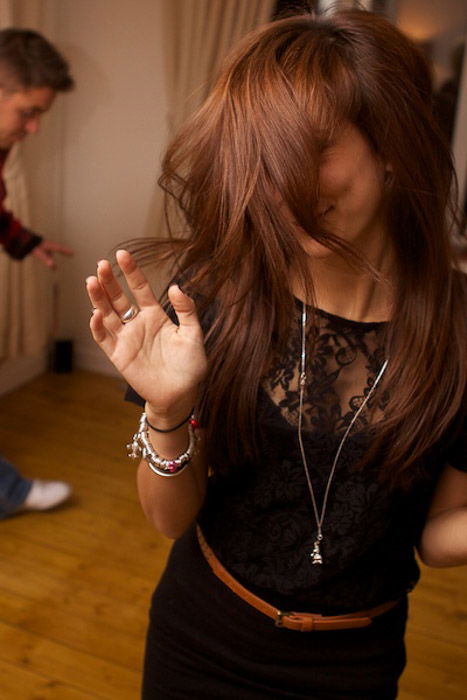
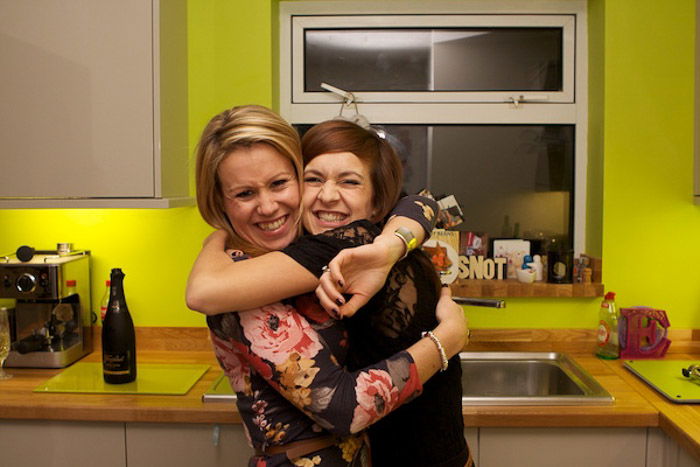
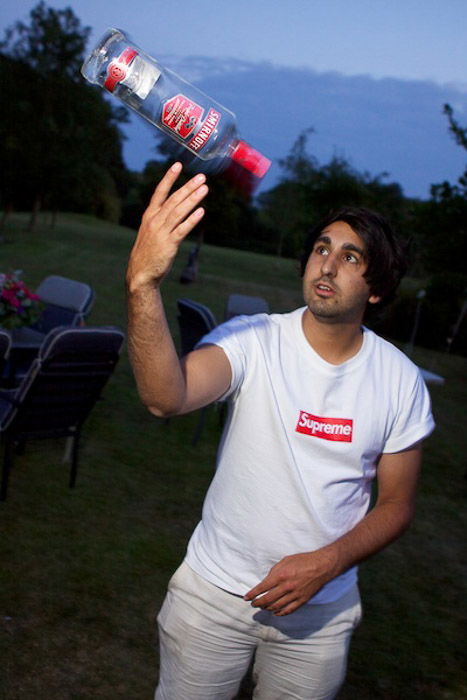
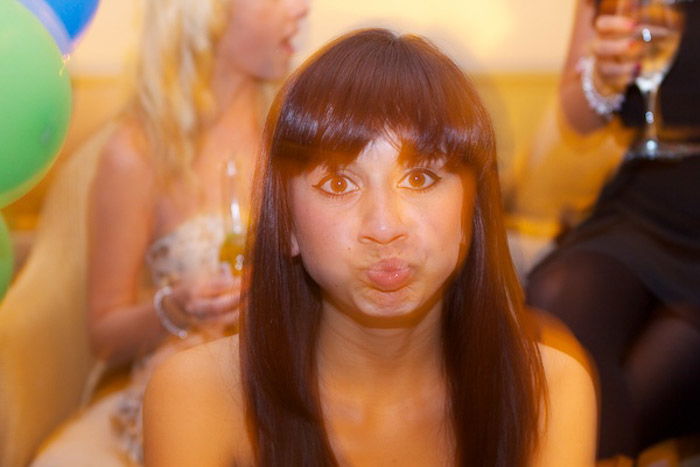
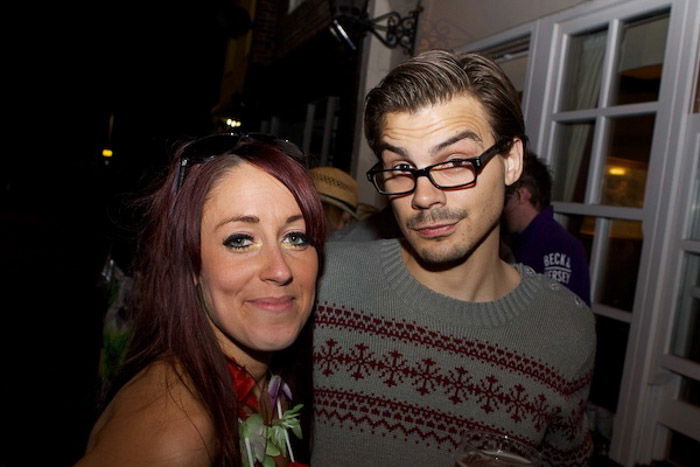
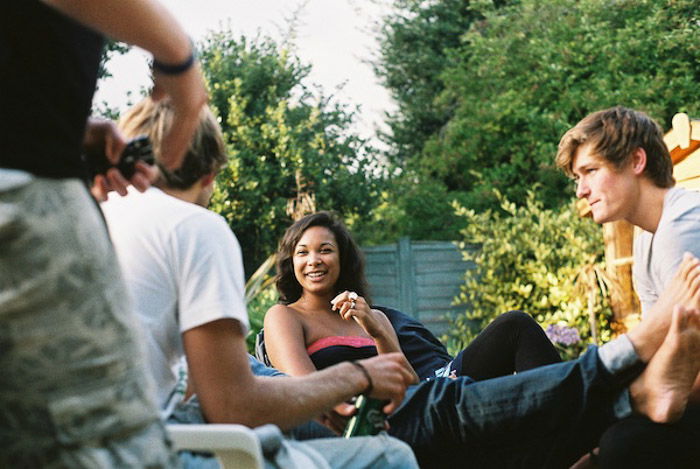
As I mentioned above, regardless of your style of photography, if you’re at a party at night or indoors, you’re going to end up using a flash to help with the lighting. I strongly recommend the purchase of an external flash unit but, if you don’t have one, we’ll get to your options in a bit. The great thing about an off-camera external flash unit is that you can bounce the light off the ceiling to produce a more natural light or use a diffuser such as a small lightbox to bounce the light indoors or outdoors. You can also buy transmitters for your flash which allow you to take the flash off the camera and have it coming from a different direction, although this is probably a little advanced for most parties. Below is a photo which was taken indoors with the flash turned slightly behind me and pointing up to the ceiling, which you can see in the reflection in the mirror. This maintains a good amount of shadow on the face and makes it look more like no flash was used at all. This style is really good for casual parties where you’re at a friend’s house and there’s no fancy lighting. This photo was taken at ISO 400, f/3.5 at 1/100 of a second which allowed for more light because of the confined conditions and bounce flash.If you want to go the extra mile and use an off-camera flash, you can produce some better lit photos without making the lighting too garish. I used a Speedlight Transmitter for my photo below and moved the flash around to the side. Because it was almost dark out, I had to push my ISO to 800 while narrowing the aperture to f/2.8. I knew that the burst of light from the flash would freeze any motion so I wouldn’t have to worry about movement in the photo. I did, however, want a bit around the moving bottle, so I chose a speed of 1/60. The more you use your camera, the easier it will become to make these decisions without having to think about them.If you don’t have an off-camera flash unit and you want to be able to use your flash, I would recommend trying some slow sync flash. This involves using your flash but setting your camera to manual so that you can allow for more ambient light and creative blur. This prevents the camera from focusing so much on the bright direct light from the camera, and more on the ambient light in the background. The photo below is an example of slow sync flash with direct light, although I did take it with an external unit as I had one on me. You can choose whether you want the flash to fire at the beginning or end of the exposure, depending on what you want the photo to look like. ISO500, f/3.5 for 1 second.I’ve shown you photos where you can easily bounce some light without having to push your camera too hard but what about when it’s not so easy? Just remember that you have to work with what you’ve got; if you’re limited with gear, use the techniques I’ve spoken about but I would suggest a higher ISO to allow for more ambient light and so you can turn down the flash exposure compensation. It’s more about technique and composition than anything.
Step 3 – Photos to Take
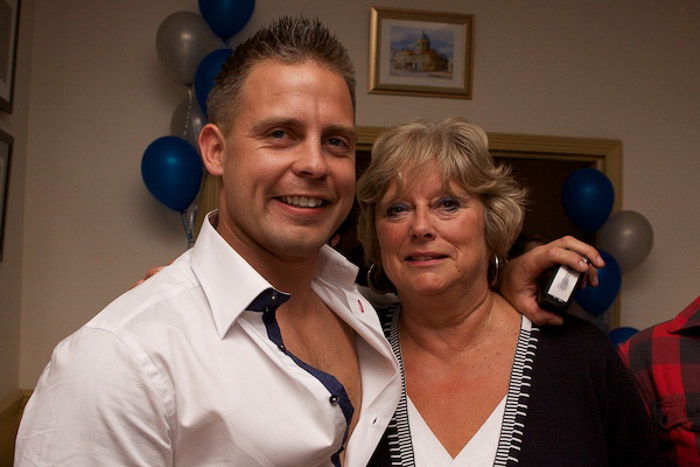
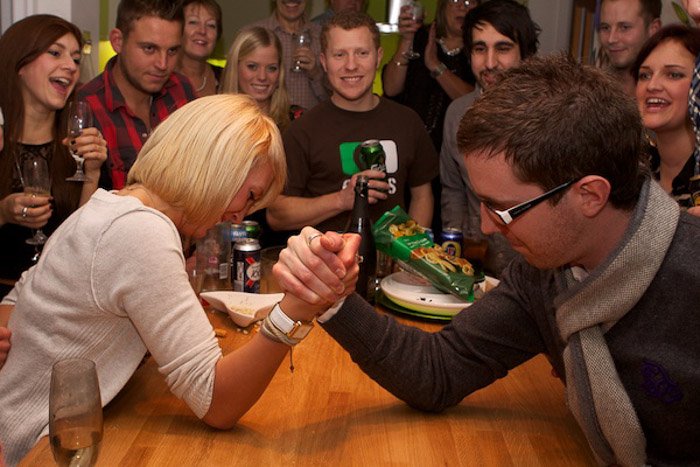
This only really depends on your personal style but, if you’re being paid to take photos at a party, there’s going to be a certain type of photo required. Think about what’s going on and who’s important at the party – that should give you a good indication as to what sort of photos to take. Here are some of the photos that I like to take. My personal style is fairly candid; I like to shoot without a flash and capture moments that other people tend to miss. It gives a nice view of the party as it captures the it for what it really is. A natural smile is ten times better than a posed one.The photo below was taken at a 30th birthday party of the birthday boy and his mum. I saw him walk past his mum and stopped him for the photo because this sort of shot will be important to them and they may have forgotten otherwise. You need to have a good amount of photos of the most important person at the party without neglecting the rest of the guests.By all means enjoy the party but be prepared with your camera so that you can take photos of anything interesting that’s going on. This is more of an action shot; you see the arm wrestle between the man and the girl while, just as importantly, there are all the heads surrounding them, looking on. This was shot at 24mm, which was as wide as the lens would go. I couldn’t have taken this photo at a longer focal length with my primes lenses. Later on in the evening, when everyone has had a few drinks and loosened up a little, you’ll start to have people approach you for group shots – that’s a good thing. If they come up to you, the photos are usually a lot more fun to take and produce better results. This sort of shot is essential for any party really because it makes it look as fun as it was and, when it’s looked back on, they’ll remember it better. Finally, it’s always good to get personal shots of just a single person; they’ll have something to take away from it too. It doesn’t matter who you’re shooting, just make sure they’re happy to have their photo taken and are enjoying themselves. For more tips and tricks, check out our post on 21st birthday photoshoot ideas, too!


